Making Masks Again

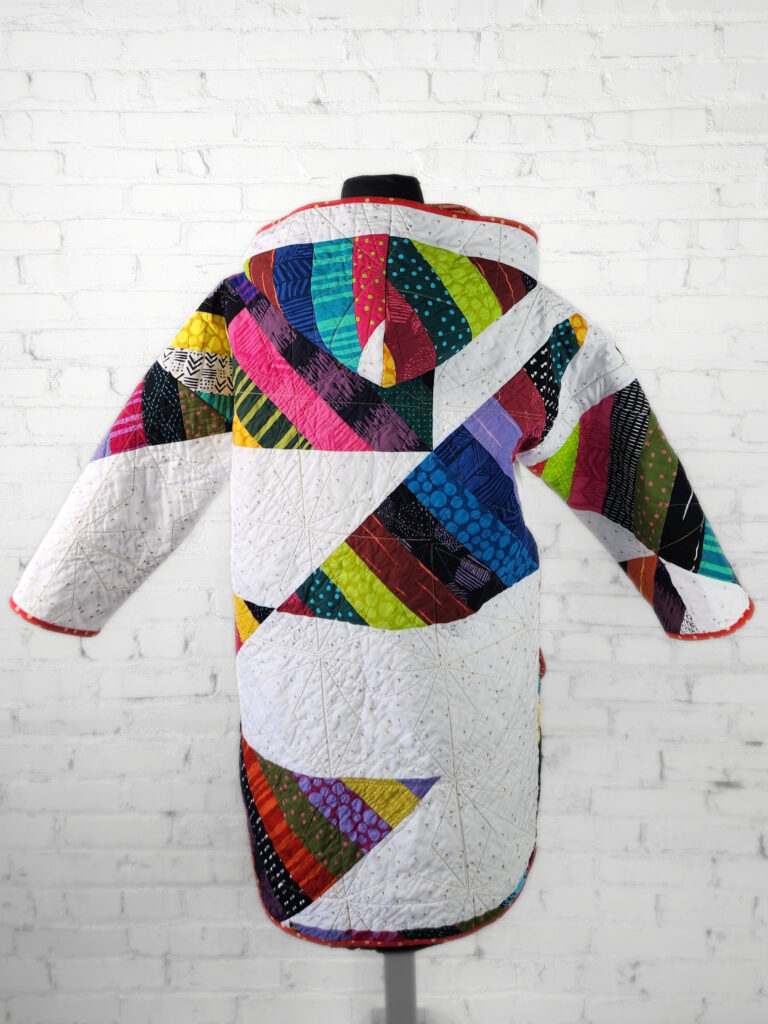
The International Quilt Festival is back after a long hiatus and I’m excited to get the chance to get back out on the road and chat with quilters and sewists in-person again. (I’ll be teaching the Ellie Elephant–join me?) Because the event inside and the coronavirus has done a doozy on Texas over the last couple months, they are instituting a mask mandate. I’ve been using my masks for a while now, so I figured this was just the excuse I needed to make a few new ones.

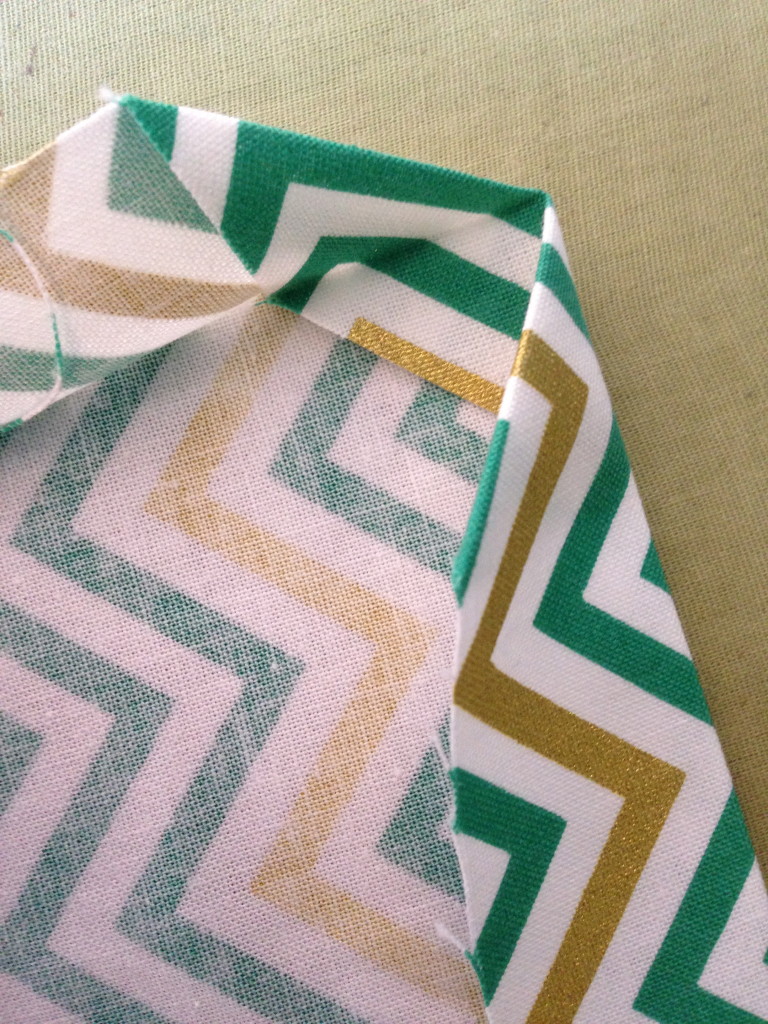
I came up with this pattern about a year ago, incorporating the different features of other masks that I appreciated. Since I’ll be wearing it lots, I wanted it to fit comfortably over my nose, scooping down below my eyes and fitting snug around the chin. Since it works so well for me, I figured I might as well share it!

Continue reading “Making Masks Again”

New Embroidery Designs + the Brumby Pouch

Before work and on the weekends, I’ve been collaborating on embroidery designs with my artist daughter and we finally (finally!) have a couple available! There are two versions: one pincushion with a happy little face and one pincushion with a strawberry. The images are her original artwork that I digitized and I’m pleased as punch with them!

I wanted a way to show off the design and decided I would do it on a bag of some type, so I started looking through patterns and found that I’d bought the Brumby Pouch pattern from Sew Sweetness and it was perfect. It’s part of her Minikins Season 3 package, a fab collection of 12 PDF patterns and videos that show you how to do each.

I have used Sew Sweetness patterns a few times over the years and I’m always impressed with her pattern writing and her attention to detail. There are some patterns that are “quick and easy” and that’s their selling point. The thing I love about Sara’s patterns is the fact that your finished bag is going to be well-crafted and beautifully finished. She gives little details and hints to make the most of the pattern and I have loved every bag I’ve made with her patterns. If you’re new to working with her patterns, read them carefully, watch the video and trust her. It will turn out great!

The pincushion appliqué was made with Cuddle® minky (shocking, I know!) and I love the way it turned out, so textural and fun. It is available now in the Etsy shop in  DST EXP HUS JEF PES and VIP files. If you get it and use it, please tag me! I’d love to see what you do.

Happy sewing!

Waterproofing cotton with Glue Gel {product review}

Back at Fall Quilt Market in Houston, the folks from ODIF came by the Shannon Fabrics booth to show off a couple new products they have.  I happily promote their 505 Basting Spray in my classes (it really is the best/least stinky), so I was excited to see what else they had. My co-worker Ellen handed me a piece of cotton that was slick and lovely like oilcloth, but not as thick.  “It’s waterproofed cotton,” she told me and I nearly lost it.  Seriously? They’ve been trying to do this for a while and it’s rarely worked.

A couple decades ago someone came out with a product that you could iron on, a vinyl coating that was supposed to make cotton waterproof.  It worked for one use and then it started to crack and peel and just generally look like crap.  There have been a couple of sprays, but they still tend to wash out and not give a nice sheen to the fabric.

This on the other hand had me intrigued.

Fast forward a few months and a bottle of OdiCoat O’Fabric Waterproof Glue Gel showed up in the mail for me at work.  It’s a weird name, but I figured I’d give it a shot anyway.

I found some fabric I’d want to use for the inside of a new make-up zipper pouch (an old print from Thomas Knauer with Andover) and a flat brush that I had from some Christmas craft I never to around to making.

The gel is thick but easy to spread over the fabric.  I did it back and forth, then up and down to make sure the fabric was well-coated.  The instructions are to brush the gel over the fabric completely, then wait an hour. Re-coat it, wait an hour and then do it once more.

It is easy to see where you’ve covered thanks to the high-gloss.  Just get it all covered then leave it there. I put the fabric on a couple sheets of paper to keep it off my board.

After the third coat, just let it sit and dry for a full 24 hours (per the instructions). At this point it has a sort of gritty feeling to it.

Use a pressing sheet or parchment paper and iron it.  I used a warm iron (at the high end of the wool setting, just at the bottom end of the cotton setting) and ironed back and forth for a good 10 minutes.  It gave it a nice sheen and smoothed down the roughness. My sample isn’t quite as slick as the one I felt at Market, but I’m super satisfied.


I sprayed it with my water bottle and let it sit for a  minute or two to see if it would soak through, but instead it just pooled up.

And then I flipped it over to see if there were any spots the water had soaked through and NADA! Not a bit of the back was even damp.

According to the package, it’s now washable and the waterproofing won’t come off.  I have laundry to do this weekend, so I’m just gonna throw it in and see what happens. At this point, though, I’m really happy with the Waterproof Glue Gel and will totally use it.

Good to know:

  • A little goes a long way. I used only about 1/10 of the bottle to cover a full fat-quarter of fabric.
  • It doesn’t smell strongly and didn’t leave a lingering smell while it dried.
  • The water stayed where I wanted it to, on top of the fabric and not in it.
  • Don’t rush it; give it all the time requested to let it dry.
  • I’d recommend it and will totally use it again.

It’s available on Amazon and while ODIF did send me the stuff, they didn’t ask me to review it anywhere.  I’m just telling you about it because I like you.


A New Spin on the Drunkard’s Path {book}

I first heard about this book a year ago when I was chatting with John Kubiniec at Quilt Market and he mentioned he was working on a book devoted to the Drunkard’s Path block. Drunkard’s Path?! That’s one of my top five! I love love love this block and its million different combos. I pretty quickly begged him to let me get a sneak peek at the book and he agreed. Months and months down the road, the book was finished and I got a copy to review.

11182_frontcover-1John’s “A New Spin on the Drunkard’s Path” was just released from C&T Publishing and is available directly from John (and he’ll sign it!), as well through many fine shops (and I’d encourage to seek it out at an independent quilt shop or book seller near you).

It wasn’t until I’d started reading it that I realized I’d met John’s work long before I met him. Like many quilters, I’m always tearing patterns and inspiration from magazines. Back in 2013 I found a beautiful red and white Drunkard’s Path in McCall’s Quilting magazine. I tore out the picture and put it into my files, ready to inspire me again when I had the chance. Come to find out, that was John’s quilt design and it was his first foray into the Drunkard’s Path block! That block layout is the one he used on the cover and so, of course, it was the one I had to use, as well.

I started with a half-yard bundle of Indie from Art Gallery Fabrics. I’ve been holding onto it for three years, as well, so I figured it was a great fit. I kicked out a couple of the fabrics in the bundle, choosing eight to work with, then combined it with Kona White.

His advice for manageable bits is wonderful and exactly the reassurance you need to keep yourself from feeling overwhelmed. You can do this, really, but take your time and John’s advice to make it a fun, productive process. As he suggests, I simply did the cutting on the first day. And then let it sit there in a pretty little pile for longer than I should have, but hey, at least it was a lovely addition to my view.

You’ll notice that I cut out my triangles. I did much of the construction slightly differently than John, but only because I’m very comfortable sewing curves the way I sew them and prefer trimming before I sew.

His tips on sewing the curves are great and I totally recommend them. You’ll learn ways that make it easier for you along the way.  John suggests you pin at the ends and in the middle. I don’t pin at all, but you can see that I don’t always get it right in the pic to the left.  I have one block that is perfect and another that ended being 3/16″ off. John’s method  But in the end, I had a whole big pile of Drunkard’s Path blocks to play with.

Drunkards Path blocks in Indie
I really like how they play together and create these little bow ties in there.

I love how the fabrics play together and am so glad I held on to the Indie bundle for all this time.The view from above. Right now it measures 48″ x 42″ (approx) and is great crib size quilt. I’m pretty sure I’m going to keep growing it though. 🙂 big-rig-quilting-bow-tiesIt’s fun to compare this quilt to what John originally designed in the red and white combo and what he shows in “A New Spin on Drunkard’s Path” with the black background. And honestly, this is one of my favorite aspects of quilting–the never-ending ways you can put together the same thing. Same block, same construction, totally different look. It keeps quilting fresh and fun and intriguing to me.

In his book, John shows several variation of each quilt to give you some ideas, spark a little creativity in the reader, which is a much-loved feature for me. But I think the winning aspect of the book is his attention to detail and accuracy. It’s clear that John is a teacher who wants his students to succeed.  He walks the reader through each step with clear photos, tackling the curves and adding interesting details to the block.

If you’re nervous about sewing curves and need someone to hold your hand through it, John is there for you, explaining and reassuring you at each step. He shows you just how easy it really can be and then opens a whole new world of quilts for you with 12 beautiful variations of the Drunkard’s Path.

I’ll be giving away a copy of the book to inspire you to get started on your own curvy quilt. Just leave a comment here and tell me what has stopped you from taking on the Drunkard’s Path or if you have, what you love about it. We’ll pick a winner on October 9.

Congratulations to Lori Morton for winning her very own copy of John’s “A New Spin on Drunkard’s  Path” book!

Introducing Mirth, a paper-pieced mini

Mirth is one of my favorite words and now it’s finally a quilt.  Last fall, Brenda of Just A Bit Frayed asked if I’d like to design a quilt using RJR’s Cotton Supreme Solids and, of course, I said yes! They have a lovely feel, sewed up beautifully and I couldn’t have been more pleased with the final mini quilt. You can find their solids at independent quilt shops.

I’m super happy to introduce you to Mirth, a happy little paper-pieced quilt. The pattern is available now via Craftsy and Etsy.

Introducing the Hexy Bottom Bag

HexyBottomBag_cover
It’s here, at last–the Hexy Bottom Bag! The pattern has been written, edited, tested, edited again and finally, with the help of my daughter we got the photos taken and the pattern finished.

(insert cheers from the crowd here)  

I love how it turned out with a circle on the top, hexagon on the bottom. It’s big enough to store lots of stuff, but adding the little pockets keeps you from losing things.  I made up a bunch of these in the process of designing it and perfecting the pattern, so I’m using one as a scrap bucket on my sewing table. My daughter is using this one for her crochet stuff. A friend is using hers to store her rotary cutter, scissors, small rulers, etc. I’m thinking I might give some to my nephew for Christmas to store Legos in, too. I want to try it with laminated cotton, too, and stick a potted plant in it (sans pockets). It’d be cute, right?!

IMG_8170

Continue reading “Introducing the Hexy Bottom Bag”

Sewing Pincushions

I made pincushions this weekend. A bunch of them, in fact, with Vanessa Christenson and Malka Dubrawsky fabrics from Moda and just one with Carolyn Friedlander fabrics from Robert Kaufman Fabrics. They’re backed with (and have a covered button in) Kaufman’s Essex Linen.  Four of them already have homes, but I’ll list the rest on the shop in the next day or two. So freakin’ cute!

20150329-085747-32267494.jpg

20150329-085747-32267845.jpg

Supernova is a pattern!

Supernova

Last month I participated in Jennifer Sampou‘s Black and White Collection blog hop via the work blog, but I’m so happy about how it turned out, I just wanted to share it here as well! We got to choose our own pattern (or make up our own) for  each stop along the way. I’ve learned to really love this Winding Ways block and wanted to use that. I set to work with a pencil and a Winding Ways blank template.

winding ways supernovaOne of the things that I really love about this pattern is all the intersecting circles and how they play with each other depending on where you put color and where you don’t.

I can sit and color in those blocks for hours, erasing and re-arranging until everyone has locked the doors and gone home.


I can’t say I figured this out on my own, either. It was thanks to doing work with Luke Haynes on this Moda quilt that I learned just how entertaining this traditional block can be when fiddled with.

sorry for the iPhone shot, but it's all I can find :(
sorry for the iPhone shot, but it’s all I can find 🙁

I played with it until I settled on a design, got the fabric and set to work on cutting out the pieces (thank you, Accuquilt) and piecing, piecing, piecing. I did a lot of these blocks one at a time, which I tend not to do (I love chain piecing more than almost anything), but since it was a pretty finicky pattern and I was making it up on the fly, I needed to get it right.

If you look close enough, though, you’ll notice that I didn’t get it quite right. Let’s call that a “design choice” or a “only God makes perfect things” decision.

Yeah, that’s it.

The quilt was featured on the third day of the hop and I was super happy to see it get so many likes on Instagram. I know, it sounds silly and superficial, but really…it’s hard putting your work out there to be judged. And I’ve seen more than a few designers ripped a new one over their designs and it is not pretty. Luckily this one was liked.

20150208-050158-18118064.jpgA lot. And people asked for a pattern. (What the what?!?)

So I asked my boss if we should do a pattern through work or if I should do it on my own.

She said they’d do it (which is great because their graphic designer is WAY better than I could ever be). I wrote up a few guidelines, figured out quantities and then “tested” it with paper pieces.


Then wham-bam, there was a pattern!

20150208-050159-18119132.jpg

And you can get it for FREE from Fabric Depot: Supernova Quilt.

In March I’ll have a little quilt along for those who are interested in making your own version.  I’m still working out the details and trying to figure a workable timeline for everyone, so if you have feedback on what you want/like/hate about quilt alongs, leave me a comment. I’d love your input!

Introducing: the Circling Geese Squished Square Pincushion Pattern

With a name like that I might just call it the CGSSPP from now on.

Circling Geese Pincushion Pattern

It’s actually the first of a series of patterns that will be coming out with paper-pieced (also called foundation-pieced) tops and the funky construction of two squares sewn together to create a 3-D form.

Last fall I made the first of these, taking the idea from a pillow I’d seen that had flying geese in a circle. I’m the kind of crafter who thinks: I can do that. And this time I really did!

IMG_1681

It was a good lesson in working with Adobe Illustrator (something I’ve been struggling to do for years now), tweaking the size of the triangles, then the actual squares until I got something I was really happy with.

I’m super stoked to finally get to offer the pattern and hope to do a little teaching with it to show just how simple paper-piecing can be. Seriously, it’s perfect for stuff like this that needs precision. And once you’ve got it figured out, it takes the stress out of getting perfect seam allowances. I don’t know about you, but that’s a stressor I can definitely do without.

IMG_1105

I took a ton of pictures and my co-worker helped put together a classy looking little pattern. Natalie of Beyond the Reef Patterns is selling the pattern at QuiltCon for me and hopefully I will get the paper pattern into more shops soon. But for now it’s available as a download from Craftsy.

Thanks so much for everyone who’s bought one so far and I can’t wait to see your variation!