The International Quilt Festival is back after a long hiatus and I’m excited to get the chance to get back out on the road and chat with quilters and sewists in-person again. (I’ll be teaching the Ellie Elephant–join me?) Because the event inside and the coronavirus has done a doozy on Texas over the last couple months, they are instituting a mask mandate. I’ve been using my masks for a while now, so I figured this was just the excuse I needed to make a few new ones.
I came up with this pattern about a year ago, incorporating the different features of other masks that I appreciated. Since I’ll be wearing it lots, I wanted it to fit comfortably over my nose, scooping down below my eyes and fitting snug around the chin. Since it works so well for me, I figured I might as well share it!
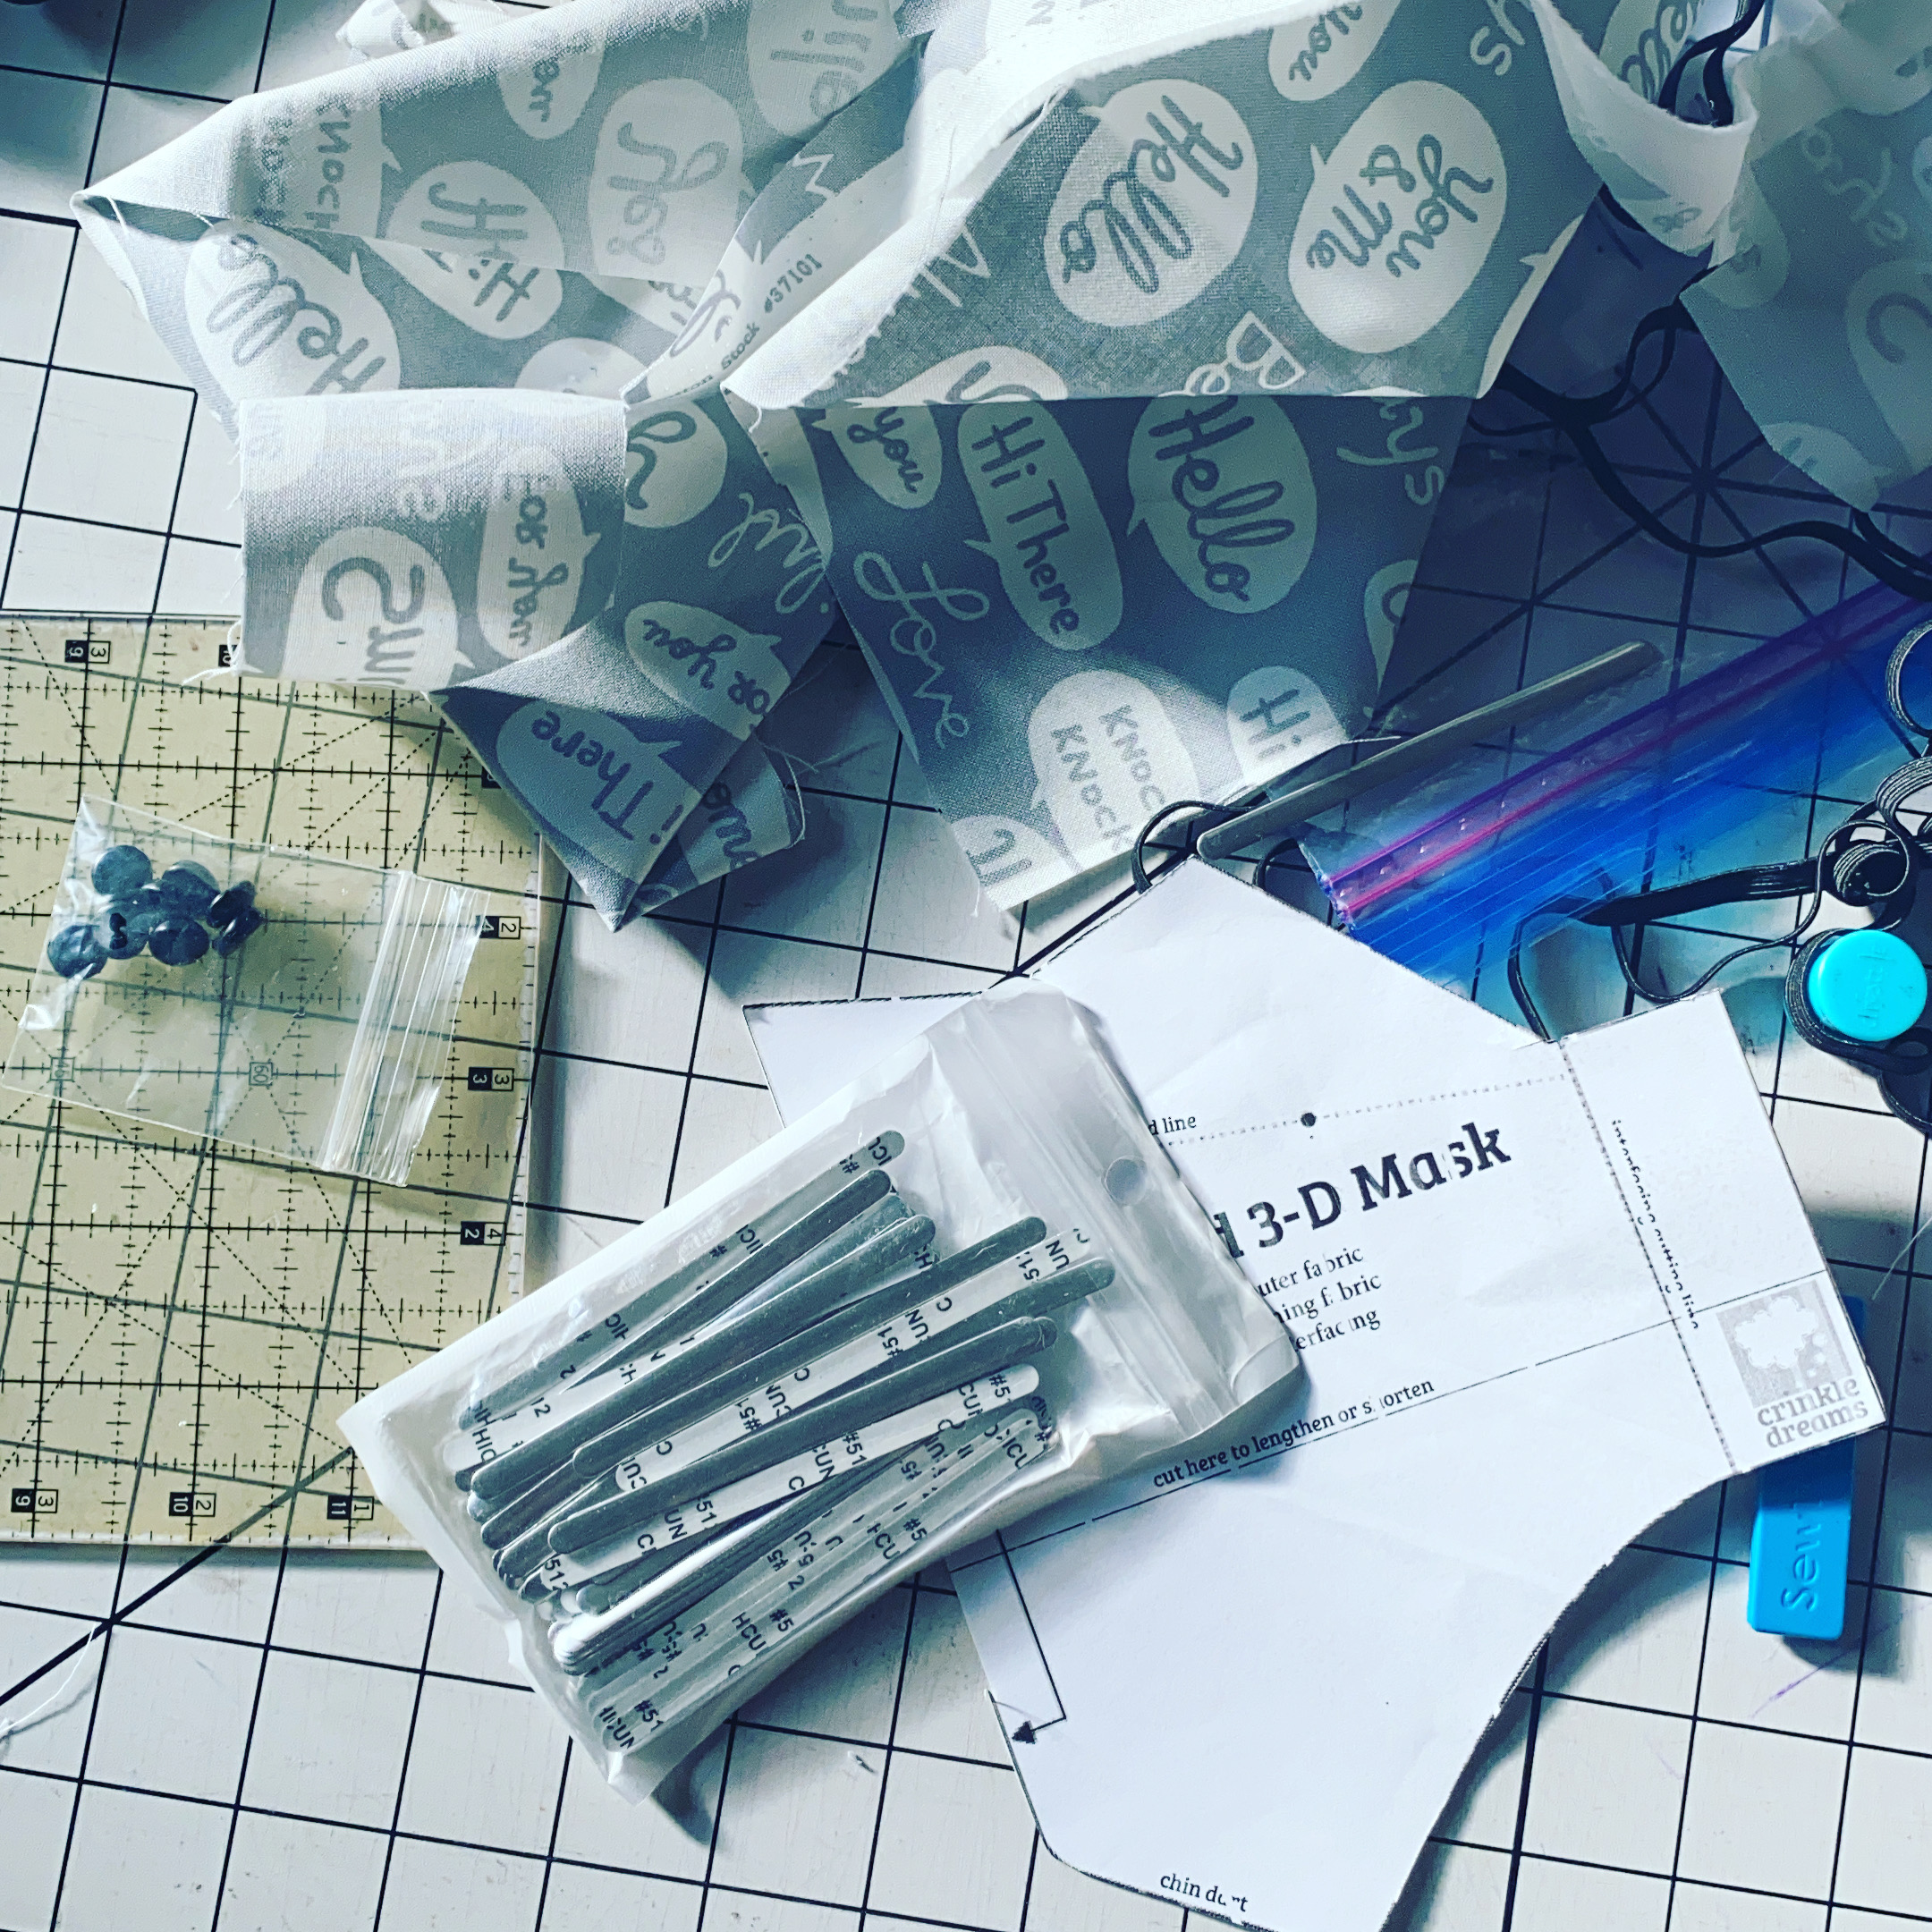
Supplies:
8″ x 13″ piece of quilting cotton
8″ x 13″ piece of batik fabric
8″ x 13″ piece of non-fusible interfacing or additional quilting cotton layer, optional
nose wire, optional
20″ – 26″ elastic
rubber elastic grips, optional
Crinkle Dreams 3-D mask pattern [click to download]
- Iron fabrics, then fold in half with fold down 8″ length.
- Trace around pattern and cut out with rotary cutter or scissors.
- Trim interfacing/additional layer to cut-line, if using.
- Press interfacing to batik fabric. Fold as one and pin chin dart.
- Sew chin dart with a 1/4″ seam allowance tapering at chin; backstitch.
- Repeat with quilting cotton exterior chin dart.
- Pin lining combo and exterior together along top edge, right sides together.
- Sew with a 1/4″ seam allowance, backstitching at point and valleys to secure.
- Clip off seam allowance at points and clip to seam on valleys, being extra careful to not cut any stitching.
- Turn inside out and use a point turner to push points out as much as possible.
- Press well.
- Top stitch about 1/8″ from seam edge.
- If desired, add channel for nose wire, by topstitching about 1/2″ away from seam edge centering the 4″ channel along the middle point.
- Bring bottom edge up to meet, right sides together. Pin a few times to nest the chin darts and sew with 1/4″ seam allowance.
- Turn inside out through side opening.
- Press well.
- If using, insert nose wire though side opening and topstitch ends closed.
- Mark fold line and press. Stitch with a 1/8″ seam allowance, making a tiny pleat across entire top of mask.
- Fold sides over 1″ then in half to create a 1/2″ channel for the elastic.
- Pin and sew close to folded edge.
- Using a bodkin or safety pin feed elastic through the channels.
- If using over the ear loops, cut two 10″ lengths of elastic. Feed one through each channel and knot, then hide knot in channel. Attach rubber elastic grips, if using to tighten.
- If using over the head elastic, cut a 26″ piece. Feed from bottom of channel, up and out, then continue to feed it from the top of the second channel to create a loop. Knot and hide knot in channel.
I really like the way this mask fits and you can lengthen the front easily if you want to make it more spacious for talking or for beards. 🙂
I hope I’ll see you from behind your own mask at International Quilt Festival in Houston next week!
Happy sewing!

