Truthfully, I always prefer a hand-sewn binding, but sometimes deadlines get the best of me and I have to take the faster route. I was able to finish four of the six quilt in the American Travels series by hand before I shipped them off to Accuquilt (they’ll be on display through March and April!), there were two more than had to get stitched on by machines. I thought I’d share my method with you since it works pretty well for being second best.
First, let’s talk tools–if you watch any of my tutorials, you know I’m a big fan of having the right tools for the job. I use Roxanne Glue-Baste-It in the tiny bottle. There’s a fancy one with a long, skinny applicator, but I just use this little guy. I also use my well-loved Oliso iron, a clapper the my dad made for me years ago, Clover Wonder Clips and a stitch-in-the-ditch foot.
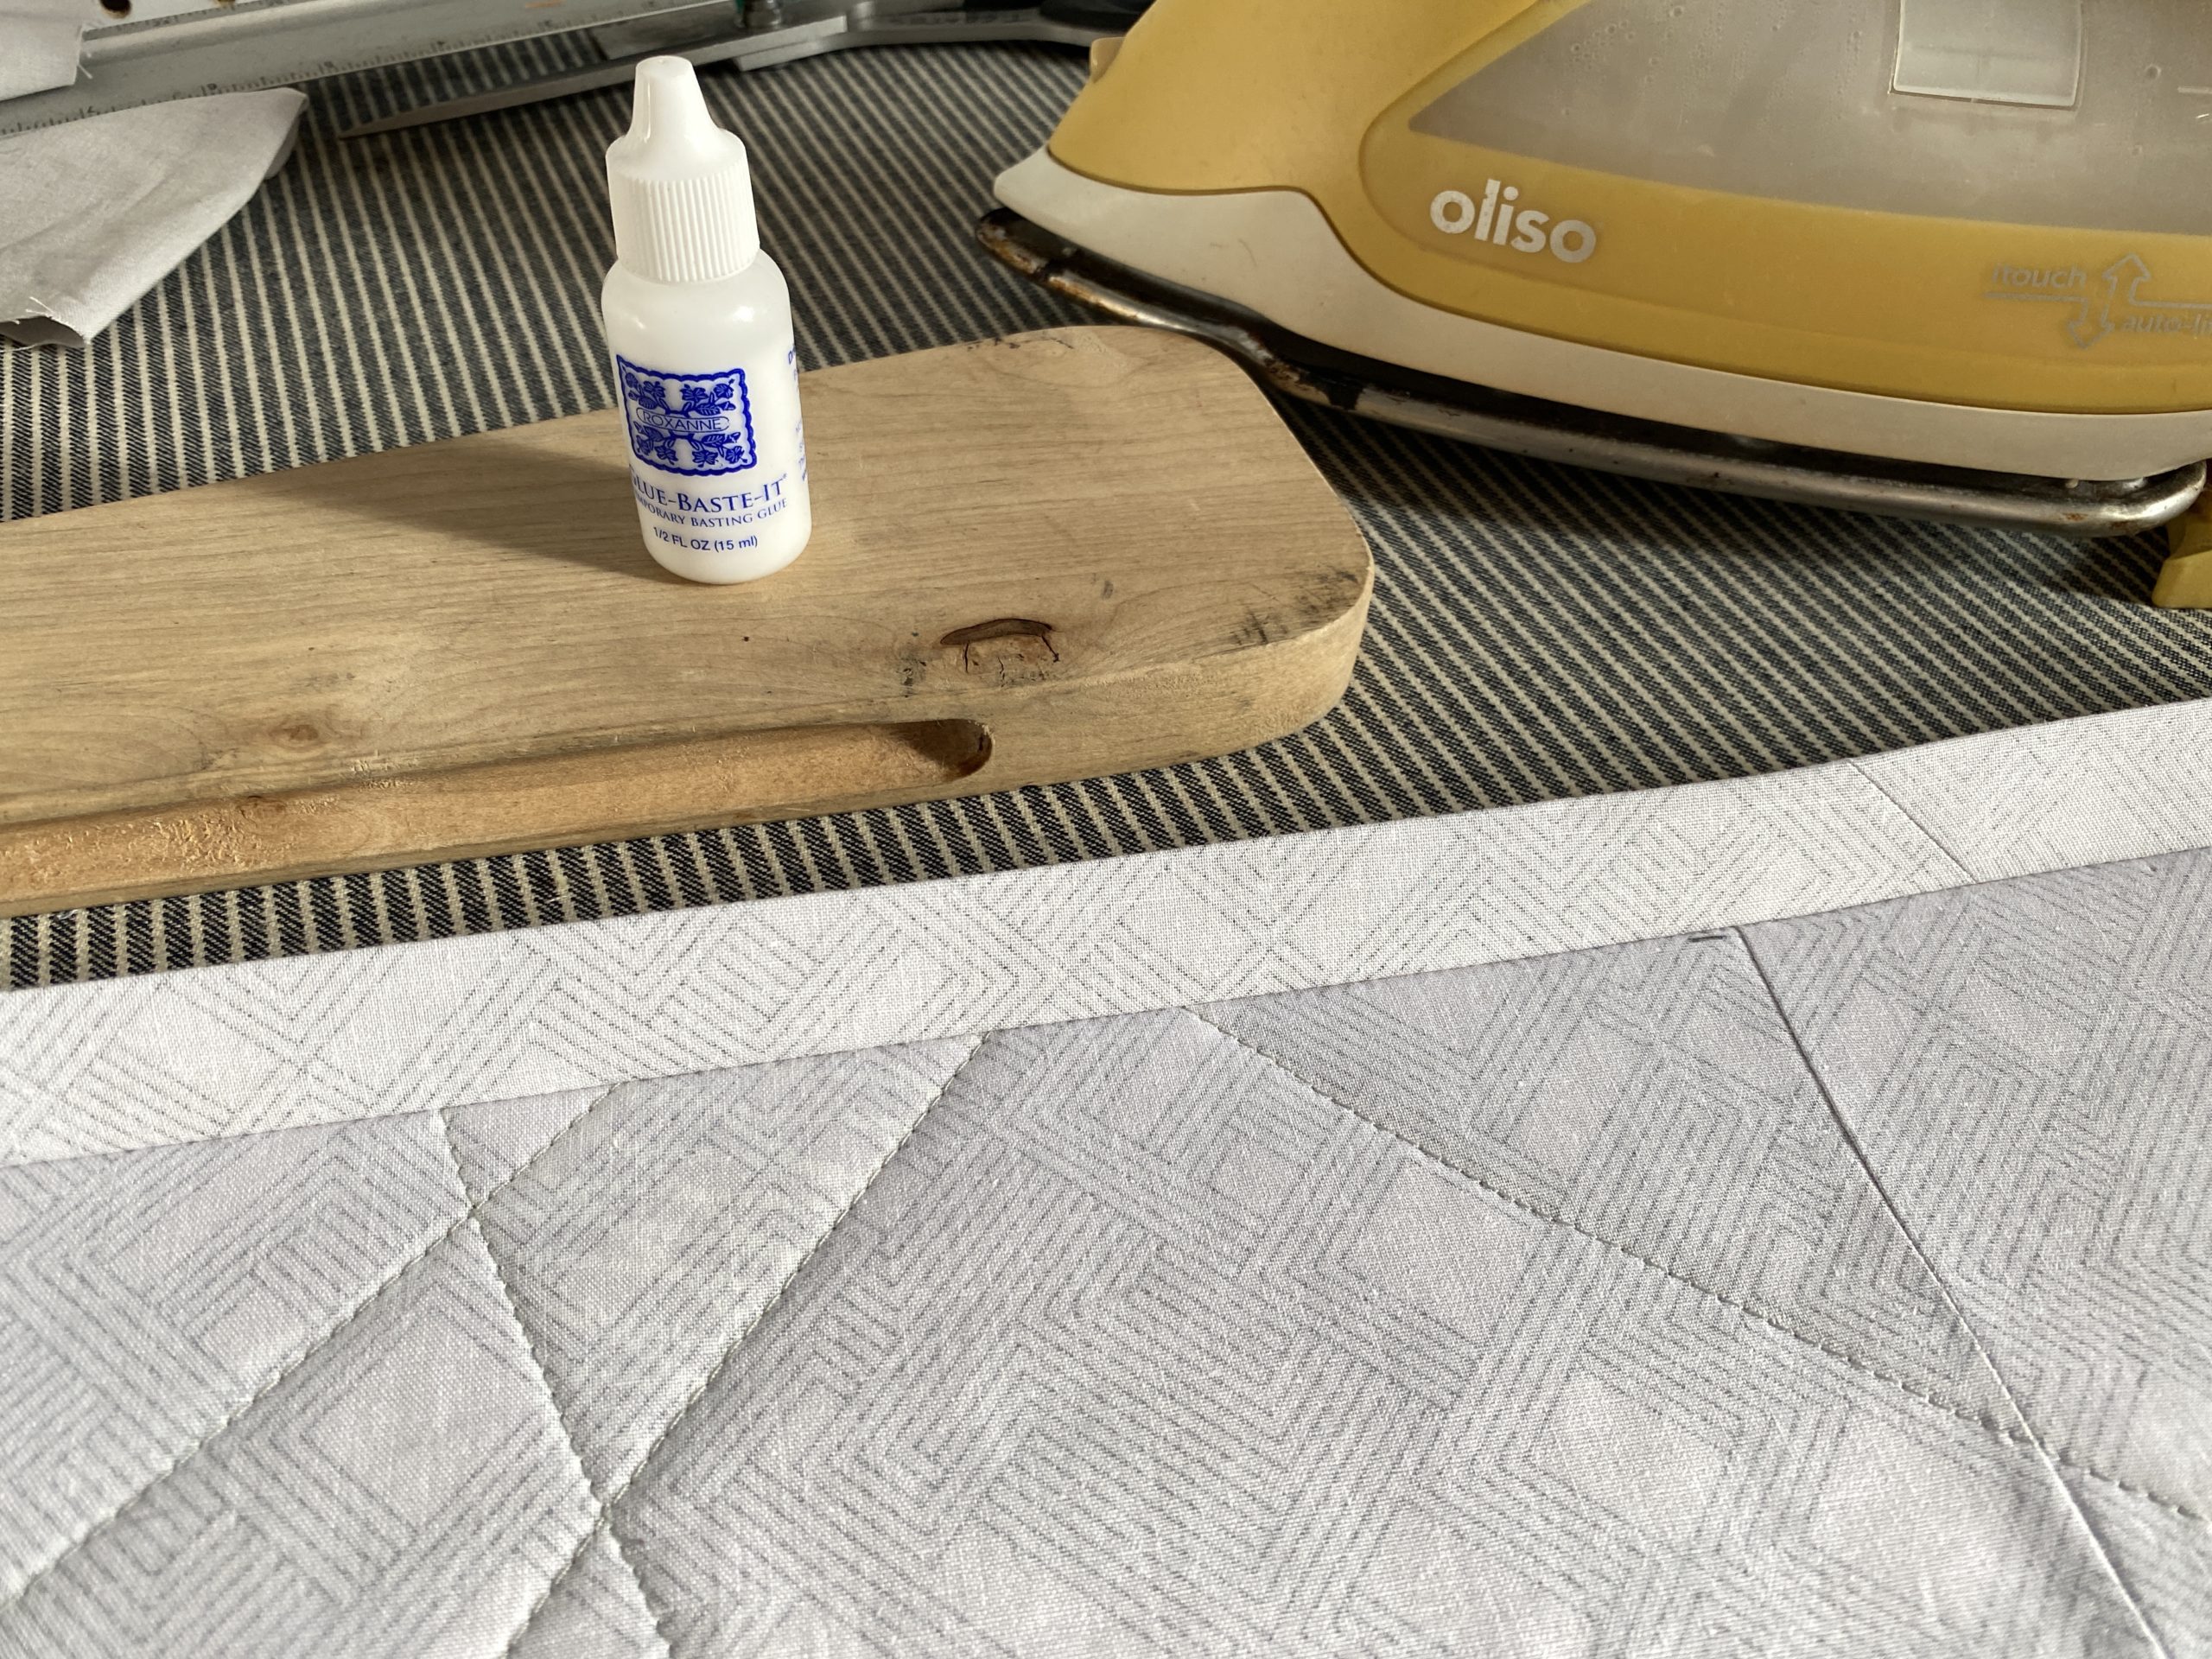
After quilting, I sew the double-fold binding to the front of the quilt, then iron it so that the seam was open and flat. The I flipped it over and gave it a little press into position, even though it just flattens back out, it gives the fabric a little muscle memory.
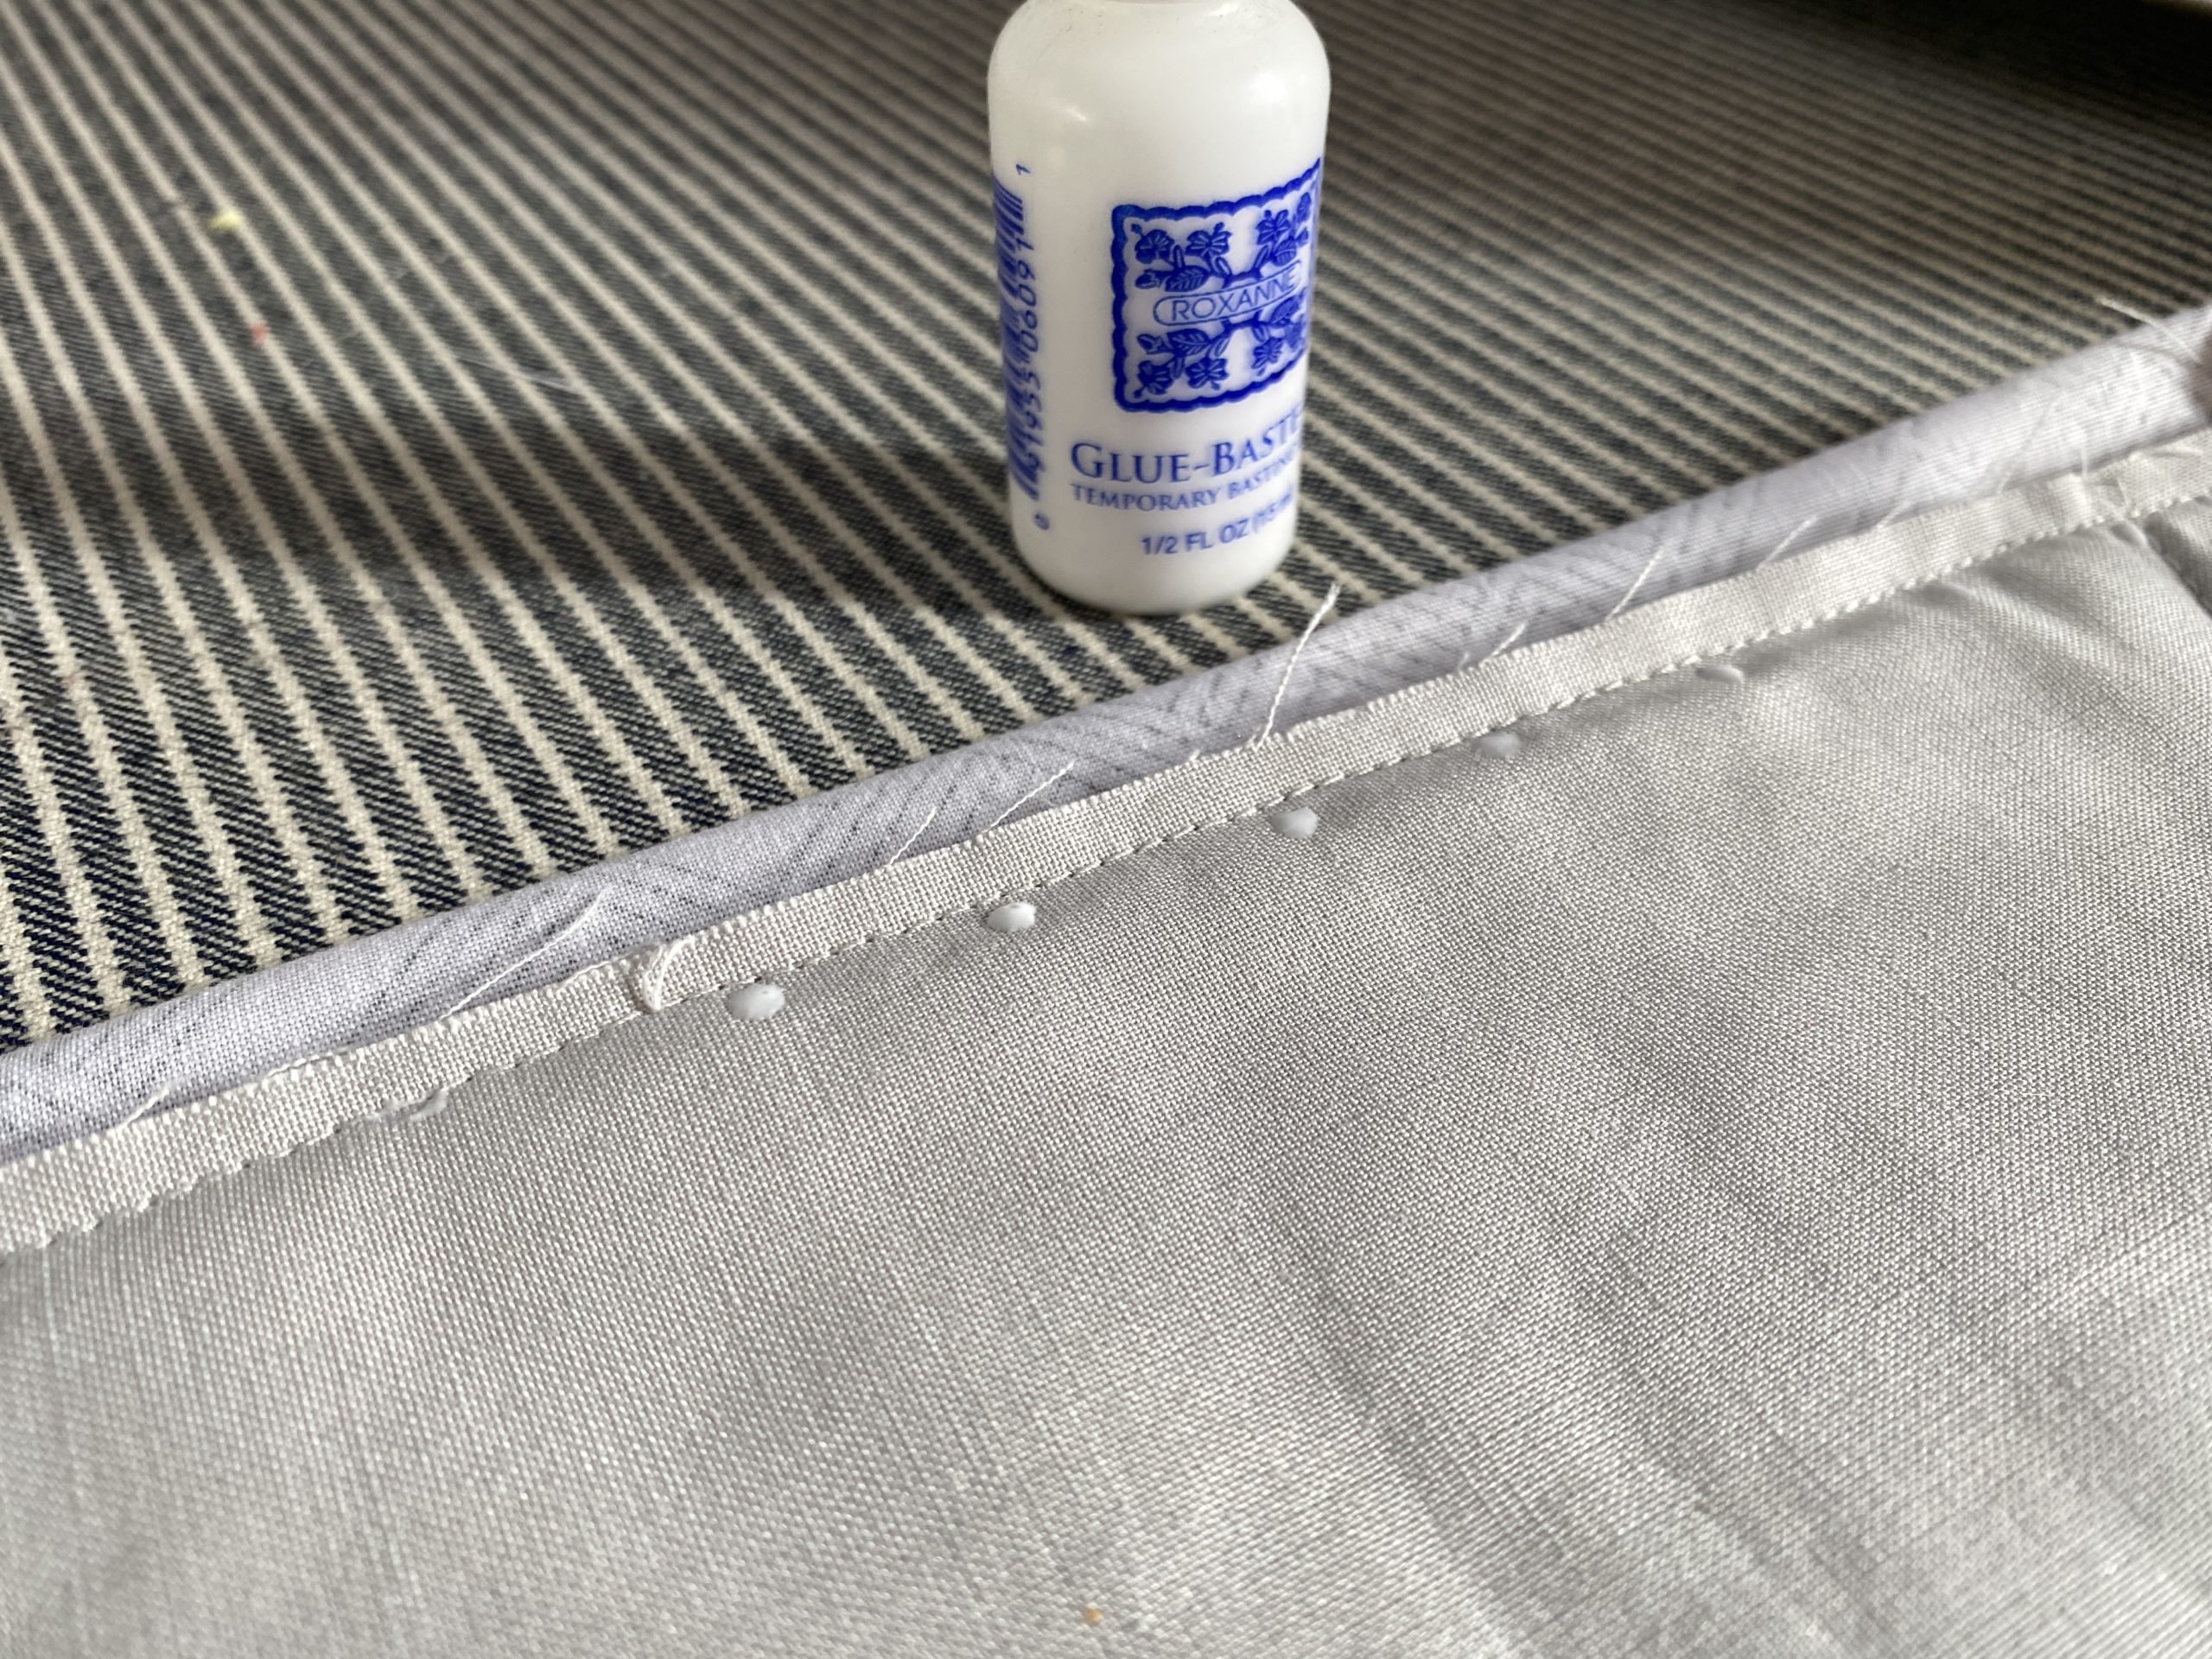
I put a little drop of glue every inch or so for about 6″ at a time. I don’t want to get too far ahead and want it to fit under the iron so I could press and not have to iron back and forth.
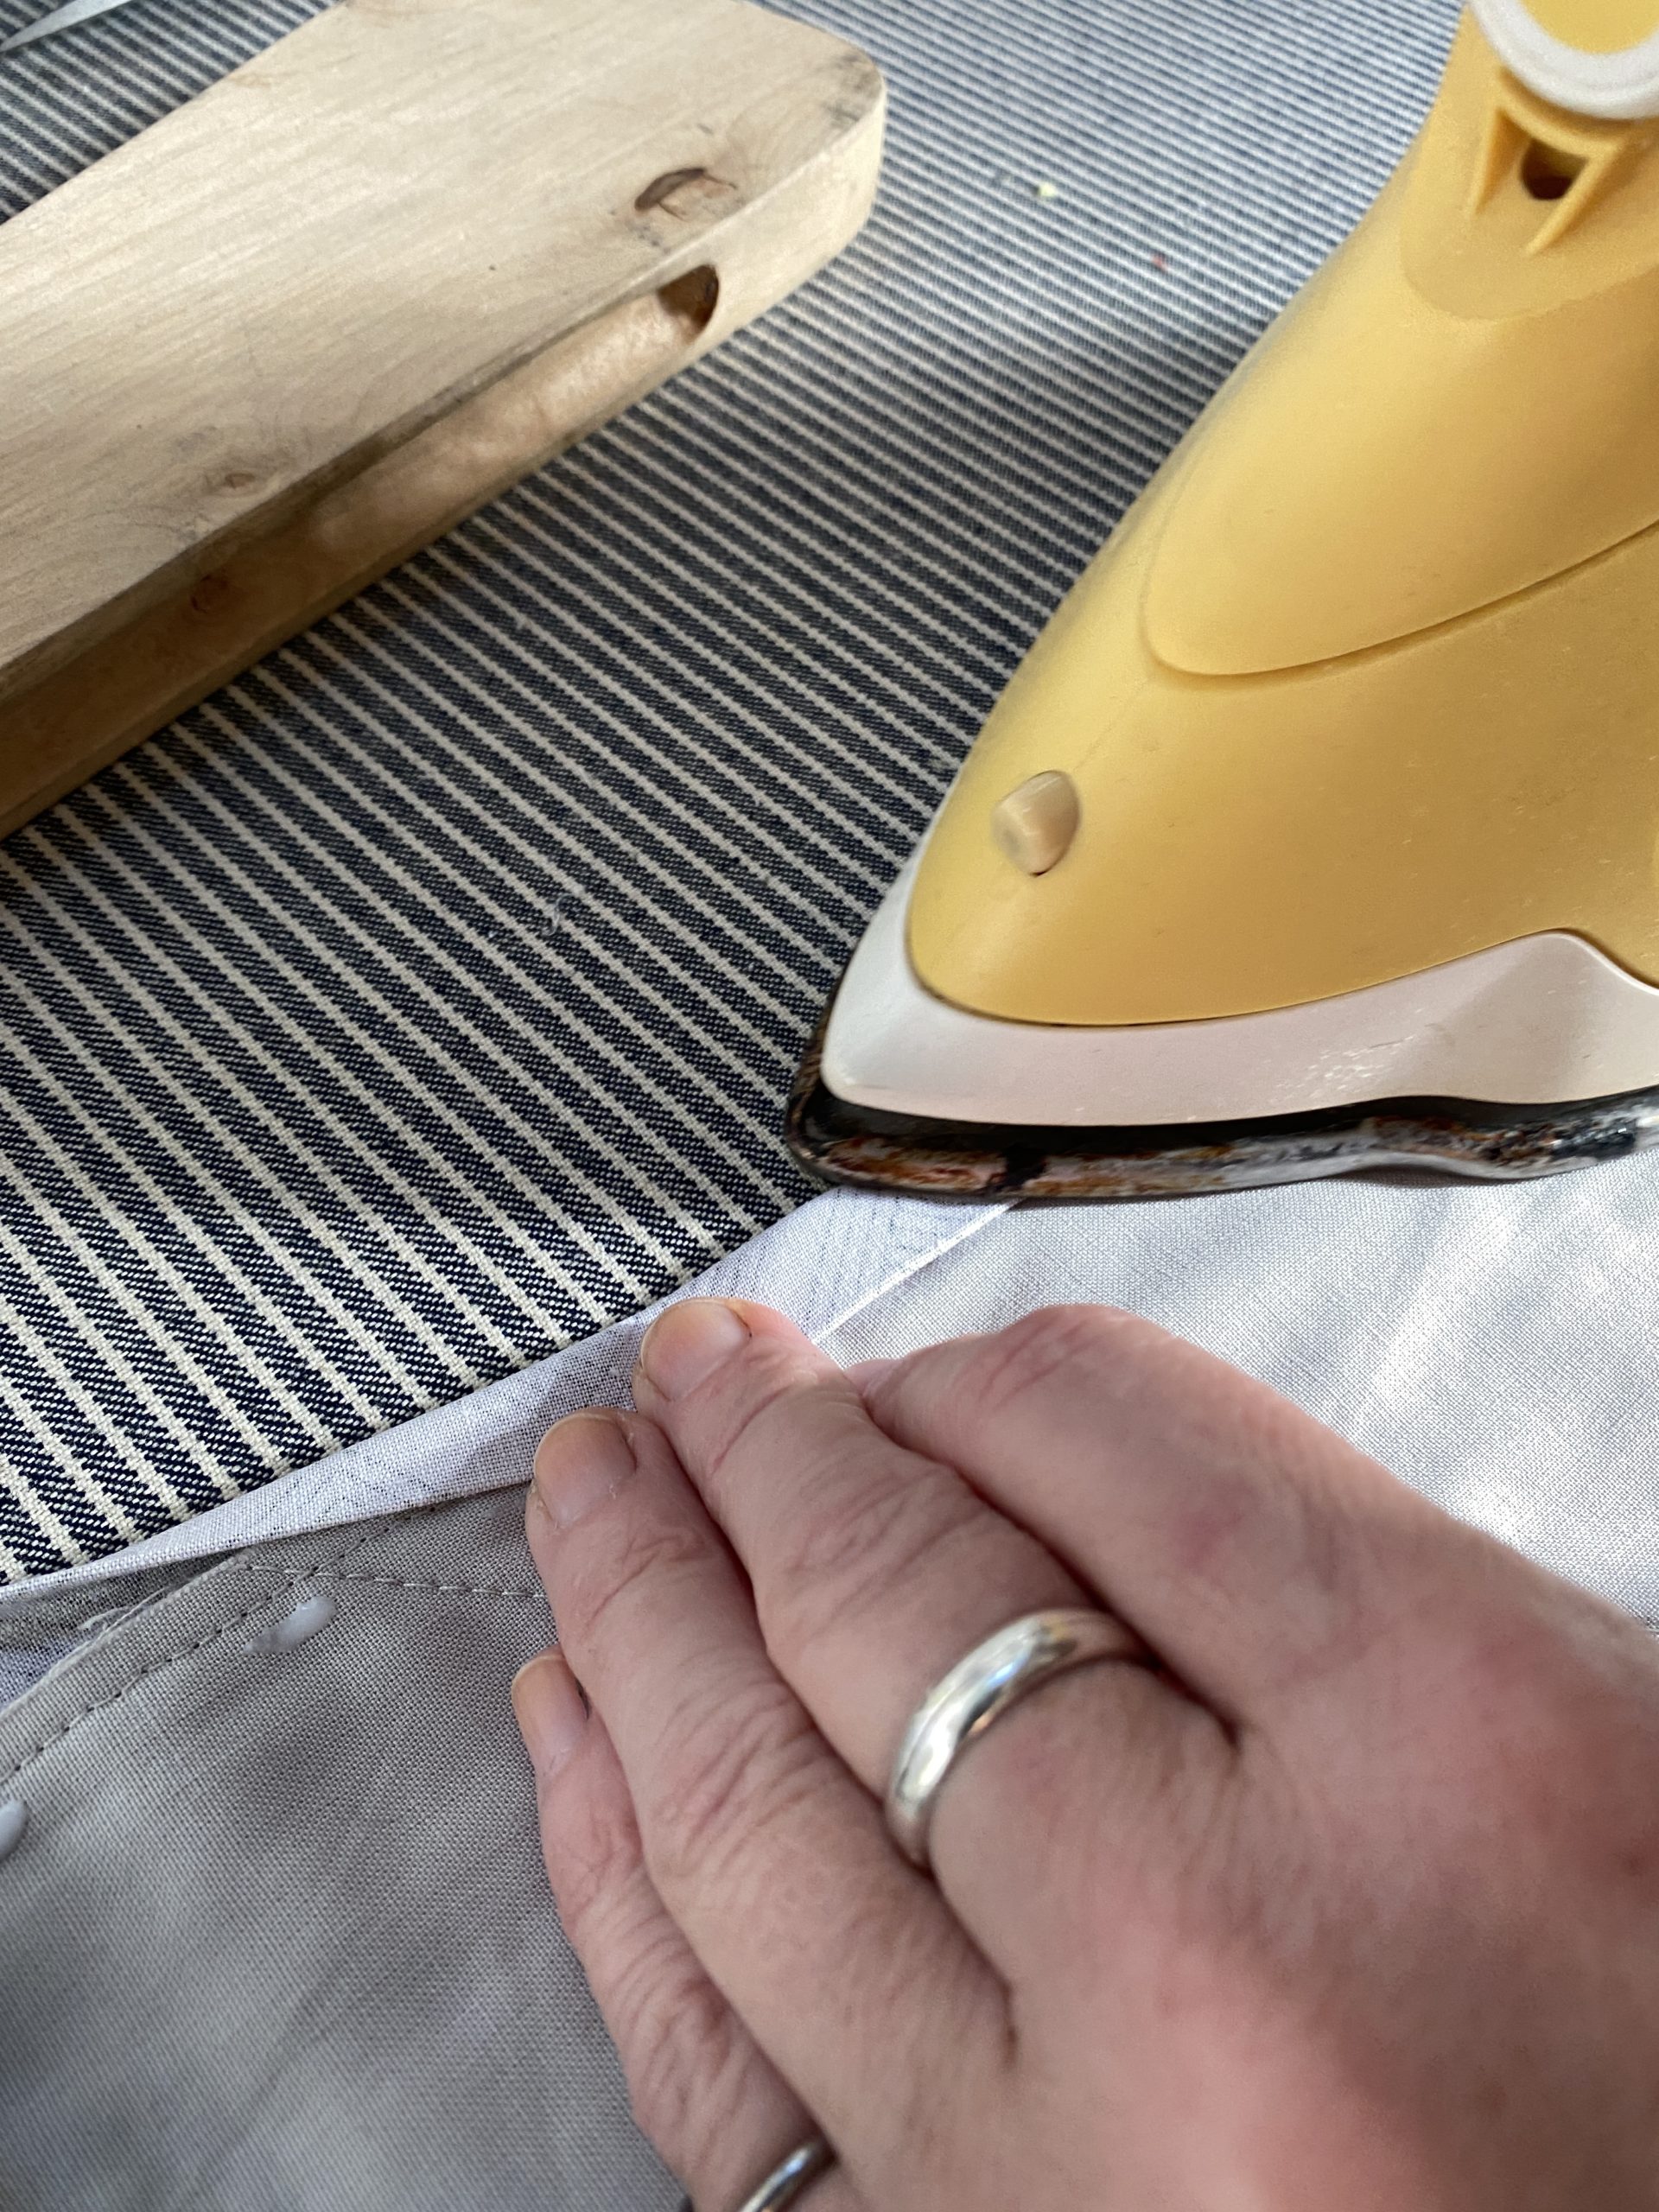
I then pull the binding over as tight as I can and press it into position with the iron.
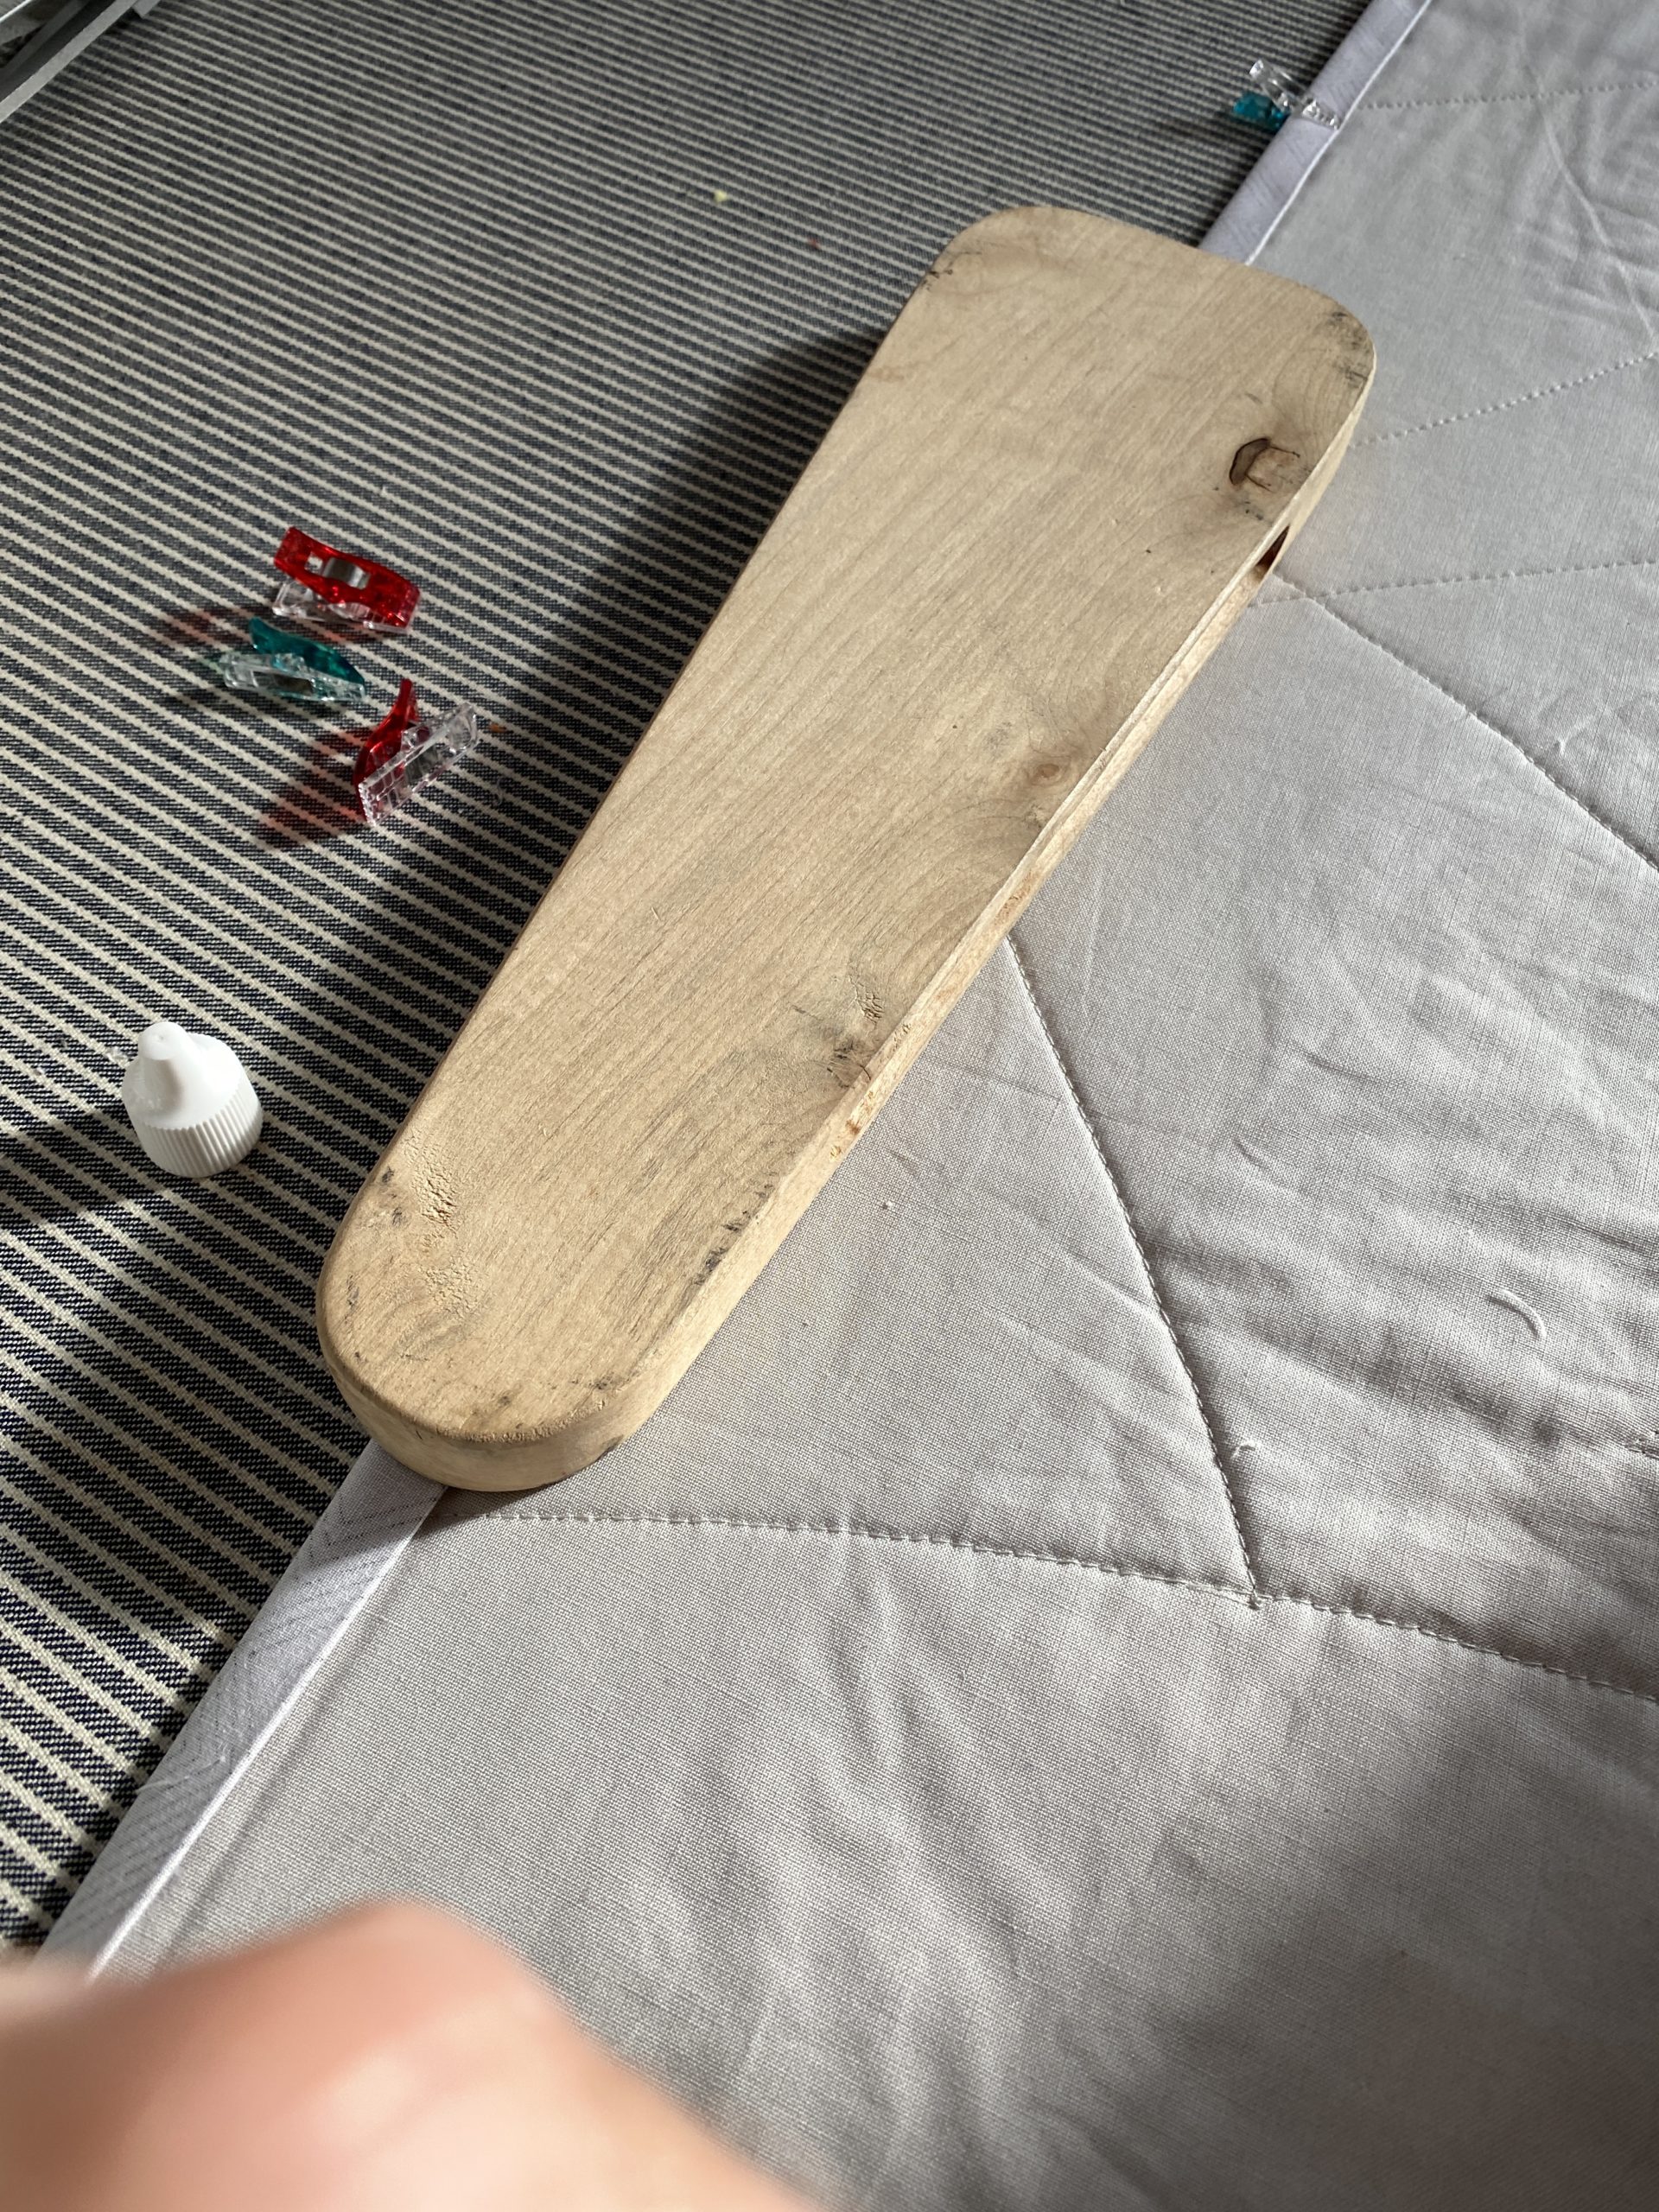
Each time I do a section, I get it all in position and then put the clapper down on it. If you haven’t used a clapper before, you are missing out. They are such great tools for pressing! It works great because it holds the binding in position while the glue hardens and everything stays right where I want it to.
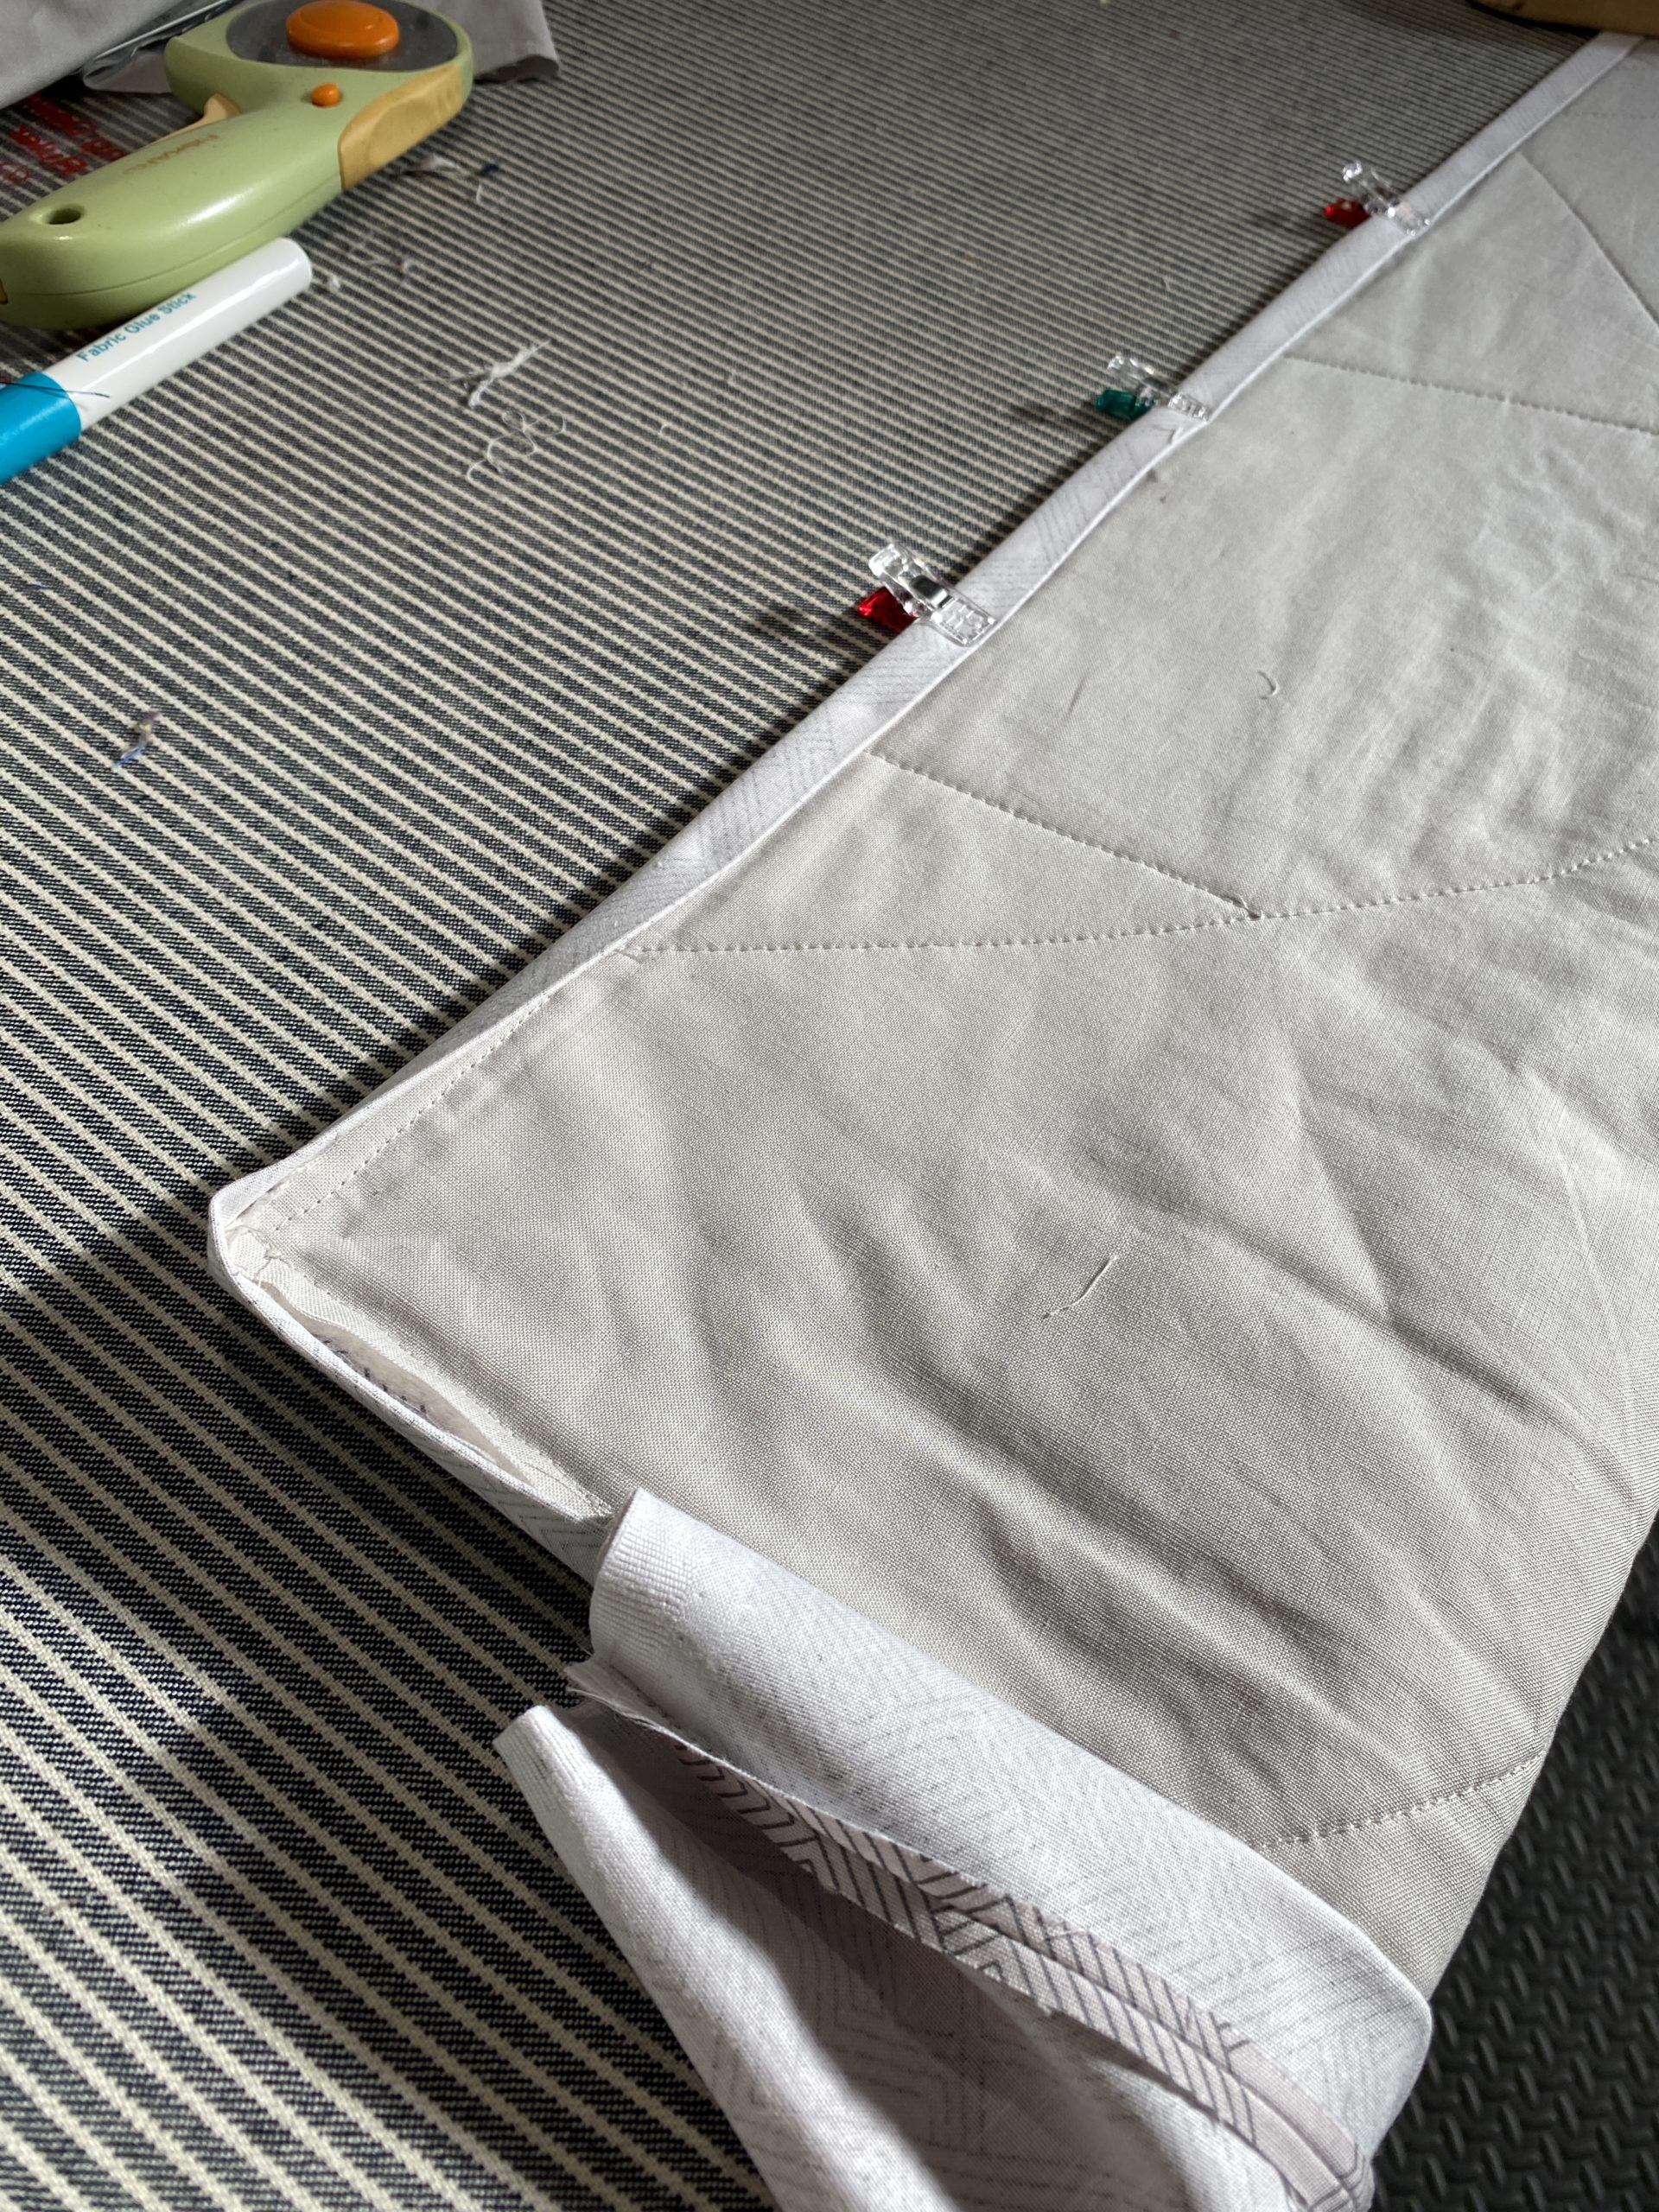
Then I take the clapper off and hold it until I get to sewing it with the Wonder Clips. Easy peasy lemon squeeze. Flat side against the back to keep it all smooth as possible.
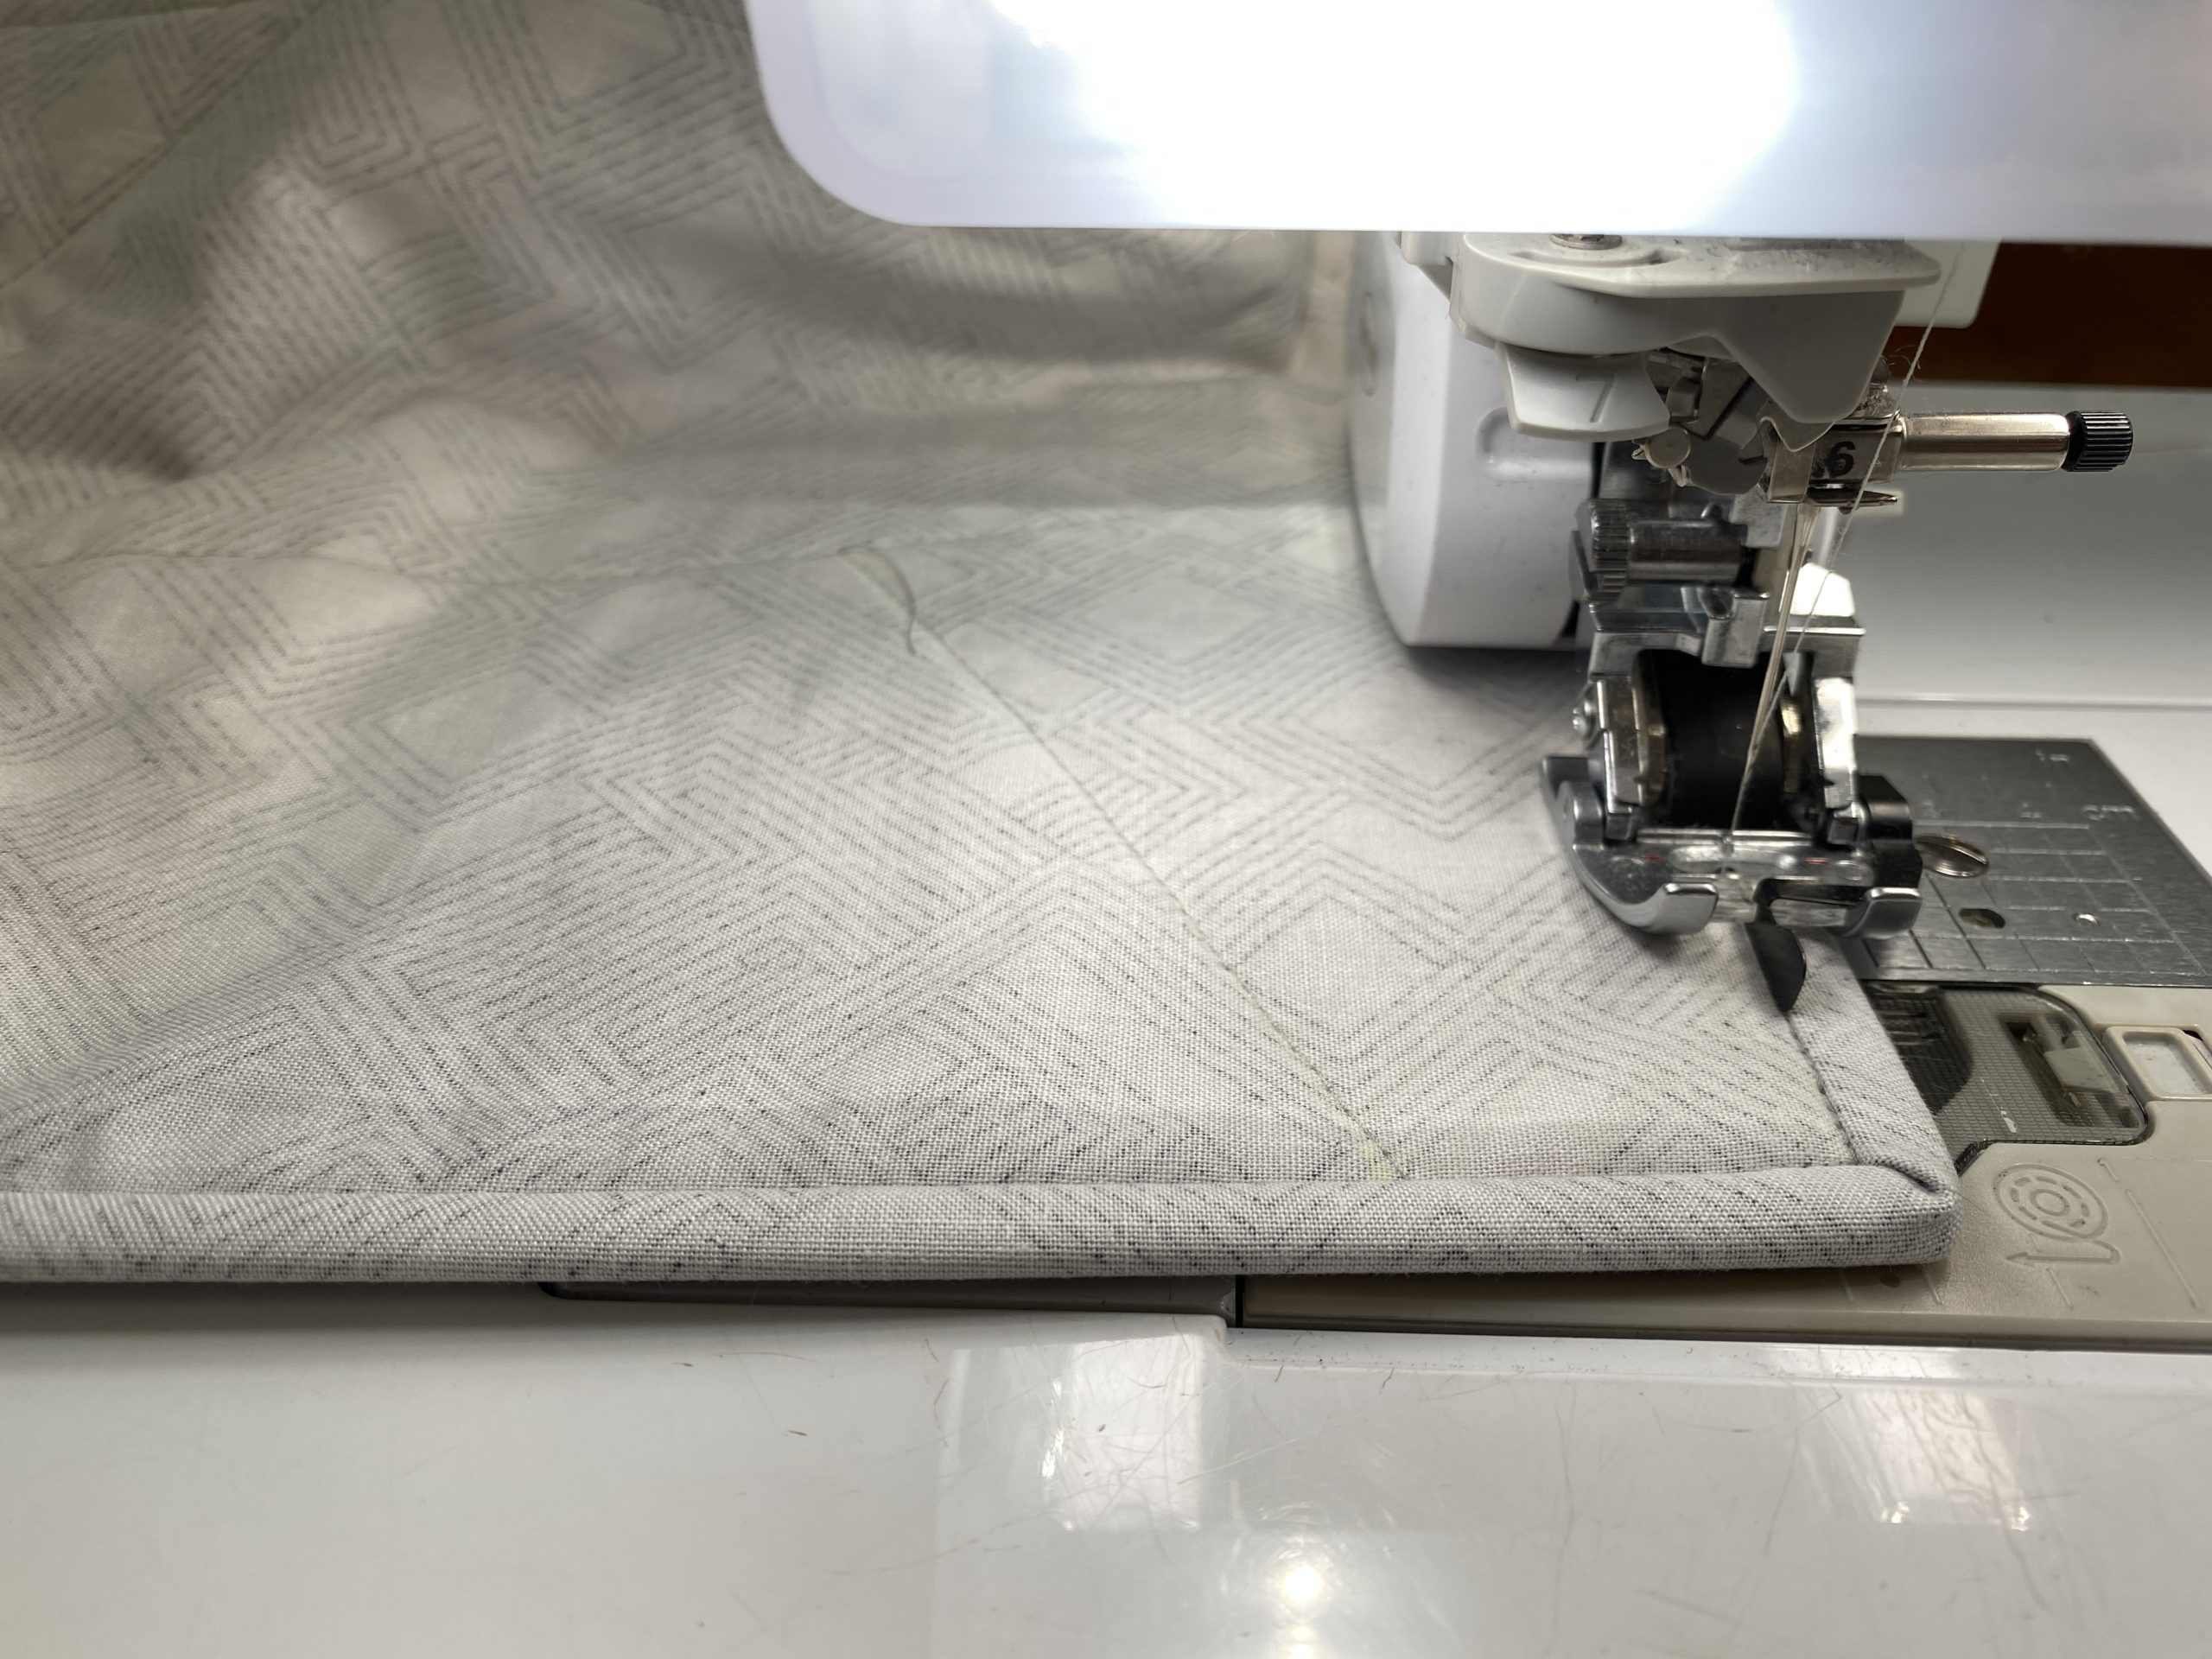
For this project, I used the BabyLock Crescendo with it’s digital dual feed and a stitch-in-the ditch foot to sew all the way around. I had to click it over to the left just one tiny bit, then watch carefully to make sure that guide bar stayed right in the ridge between binding and quilt. I did all the stitching from the front, but you can hardly see it!

This is why it is an acceptable alternative for me. For a display quilt, it’s mostly hidden and still gives binding that lovely little full look. The stitches totally hides in that ditch!
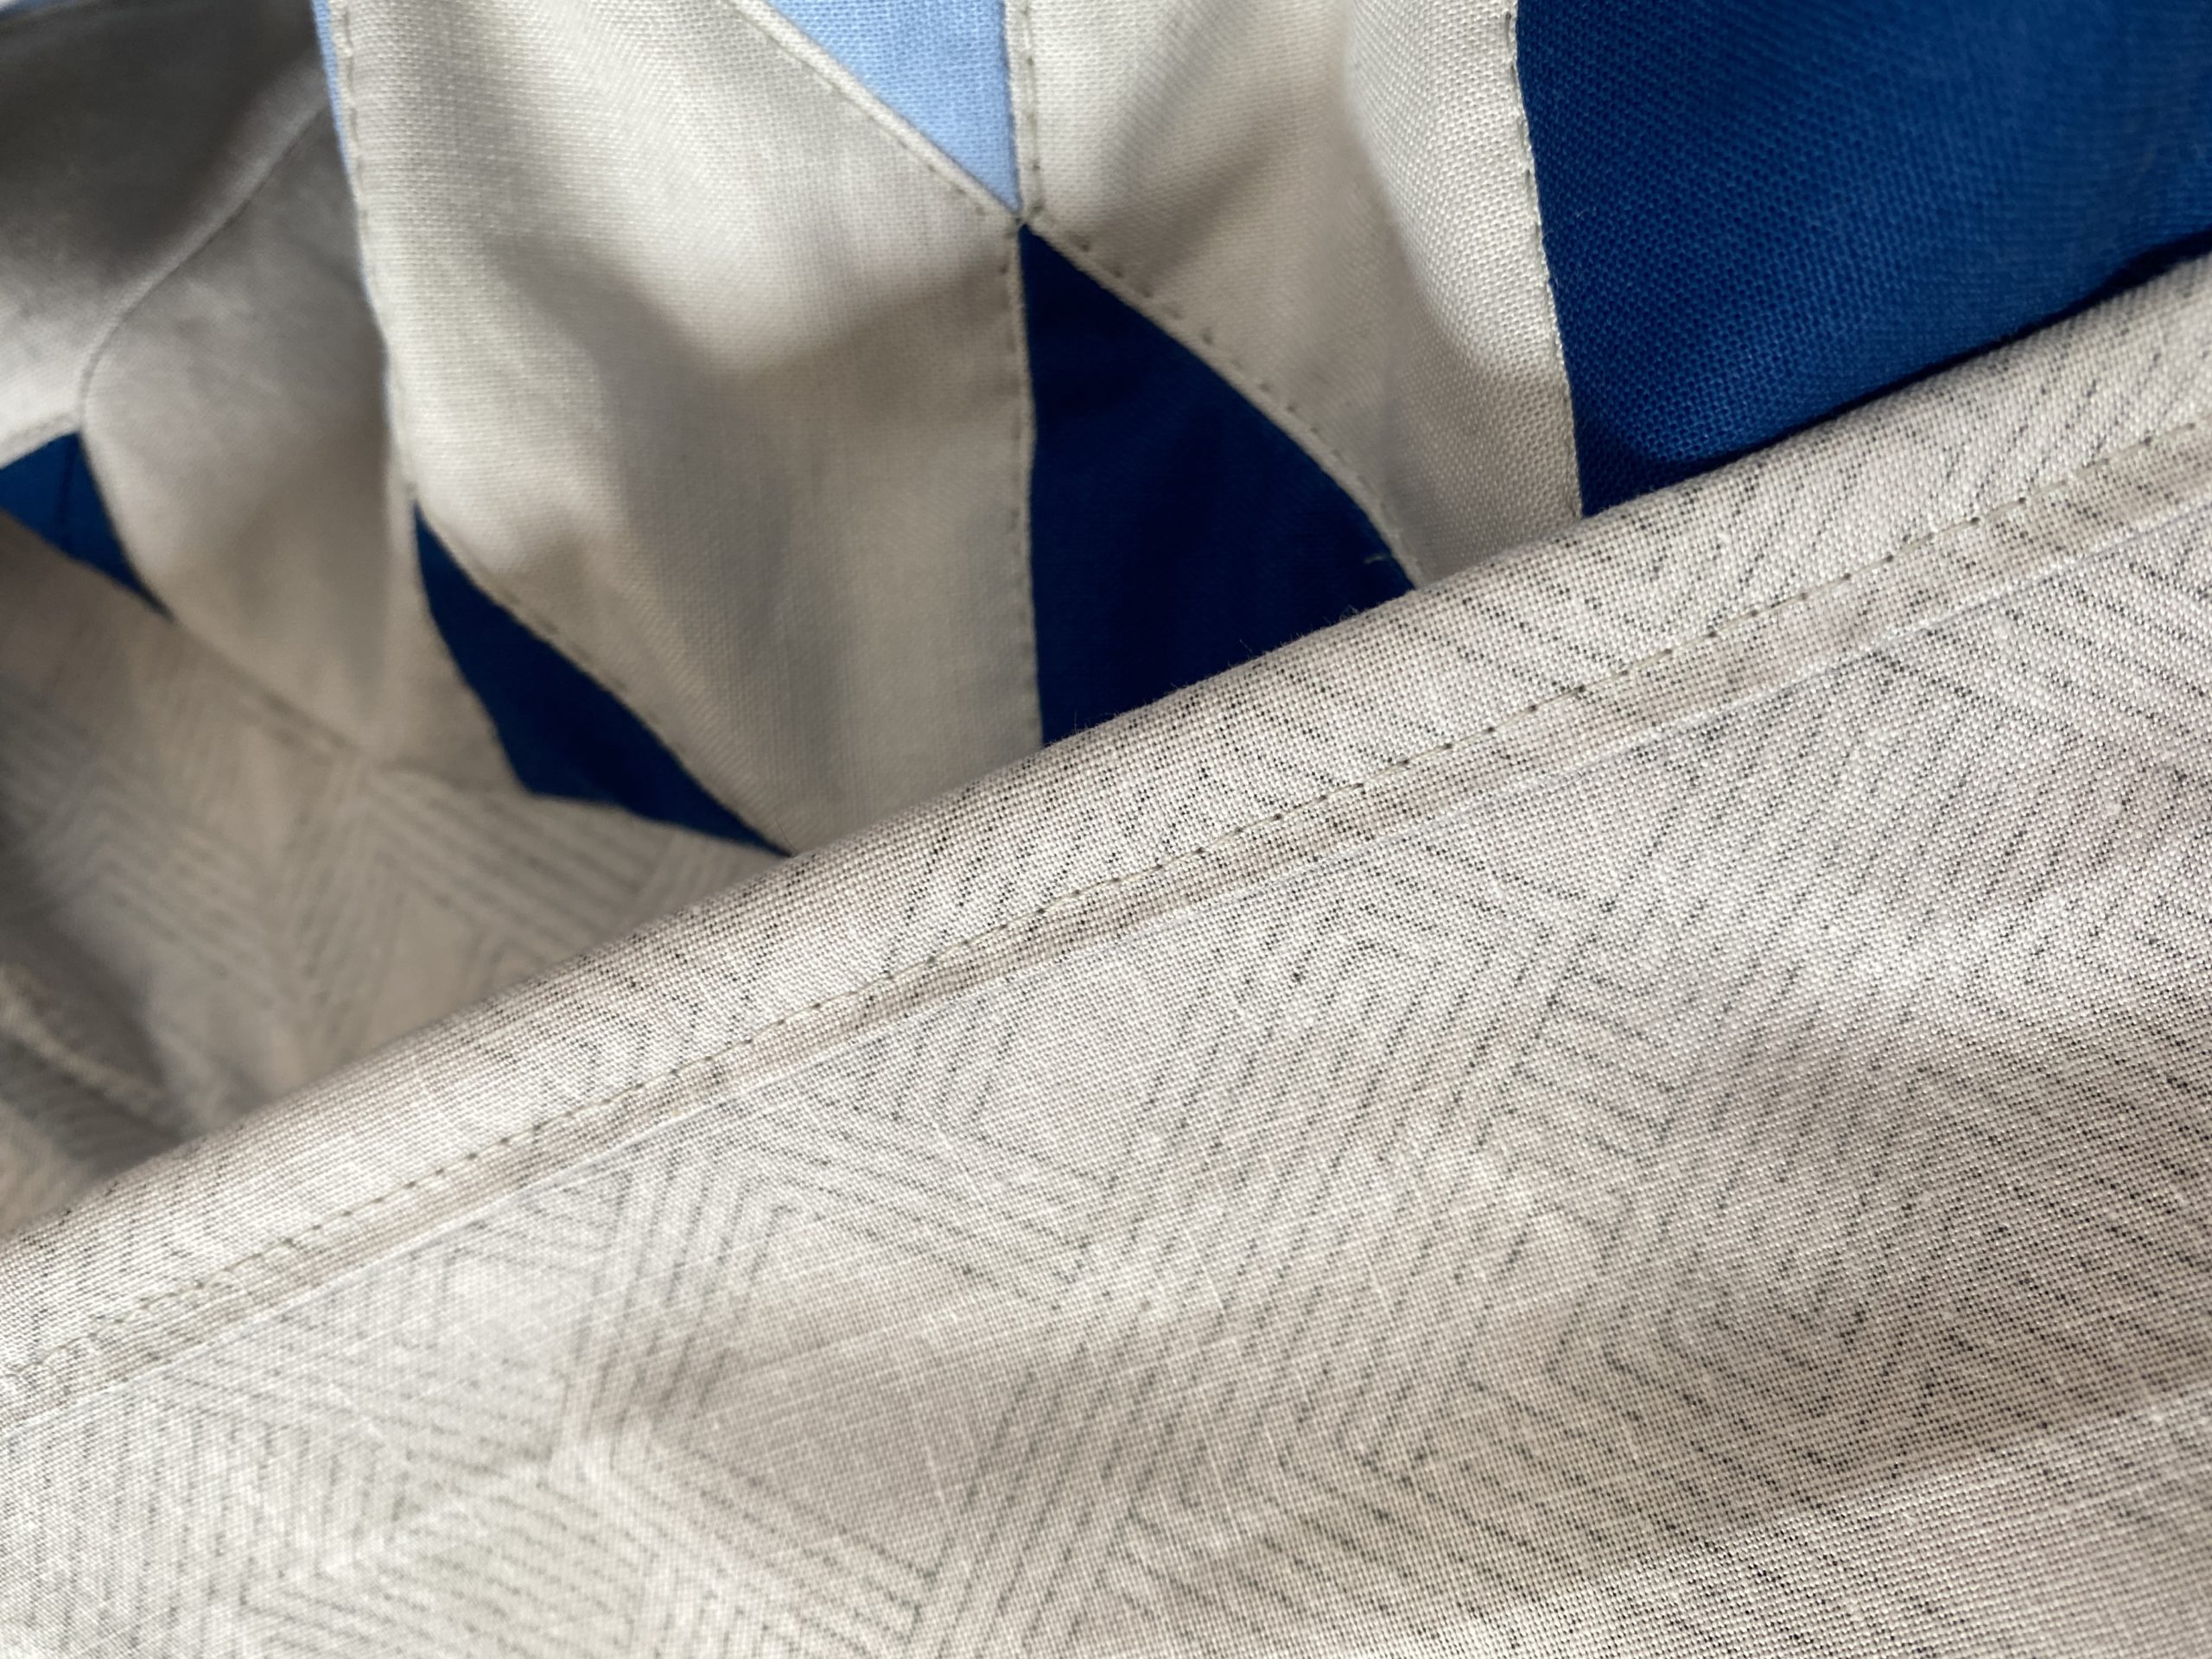
I don’t love it from the back side, but it’s stable and not exactly hideous. If I want to go back and stitch it down by hand later, I totally can (and fully expect to), but the truth is, it’s absolutely useable as-is.
You’ll notice that I sew the binding onto the front, glue baste it to the back and then stitch from the front. I have been know to do it just the opposite, but that’s only when I want the machine stitching to show more as a top stitching than as a replacement for hand stitching the binding.
Binding is one of those aspects of quilt making that has camps and while I’m firmly in the “love hand-stitched binding” camps, I know that when deadlines loom, I can take a quicker way out and still have a totally presentable quilt.
Do you like hand stitching your binding? Or do you usually machine stitch it? I’d love to know. Drop a comment and let me know!
Happy sewing!


It depends on how much time I have. I’ll do the hand stitching when I have plenty of time but when time runs out it goes on with the machine just as you did.