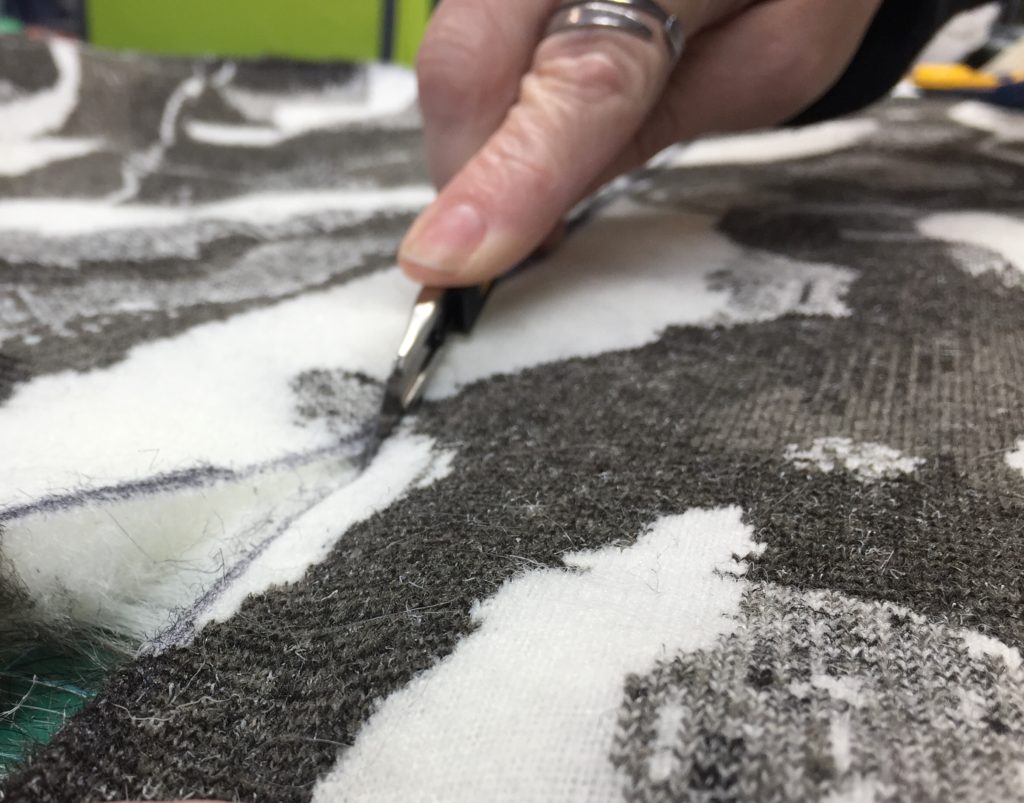
Cutting Faux Fur: more accuracy and less mess
Last fall my daughter asked if I could get her some fabric so she could make a faux fur coat. I’ve made coats before and knew this was no small task and not exactly beginner-friendly. So I said, “Hey, let me make it for you.” She didn’t have much say because I was already holding […]
Cutting Faux Fur: more accuracy and less mess Read More »