Last fall my daughter asked if I could get her some fabric so she could make a faux fur coat. I’ve made coats before and knew this was no small task and not exactly beginner-friendly. So I said, “Hey, let me make it for you.” She didn’t have much say because I was already holding the fabric hostage. 😉
I started by tracing the pattern onto the back of the fabric (Shannon Fabric’s Tibetan Sand Fox in Pewter/White). This was a pretty obnoxious task because it was SO MUCH FABRIC. Thankfully my work table is pretty big, so I managed. If I didn’t have this table, I would have just laid it out on the floor. The faux fur is so heavy, trying to do it on a smaller table would be super frustrating. I’m a big believer in not fighting with the fabric, if at all possible!
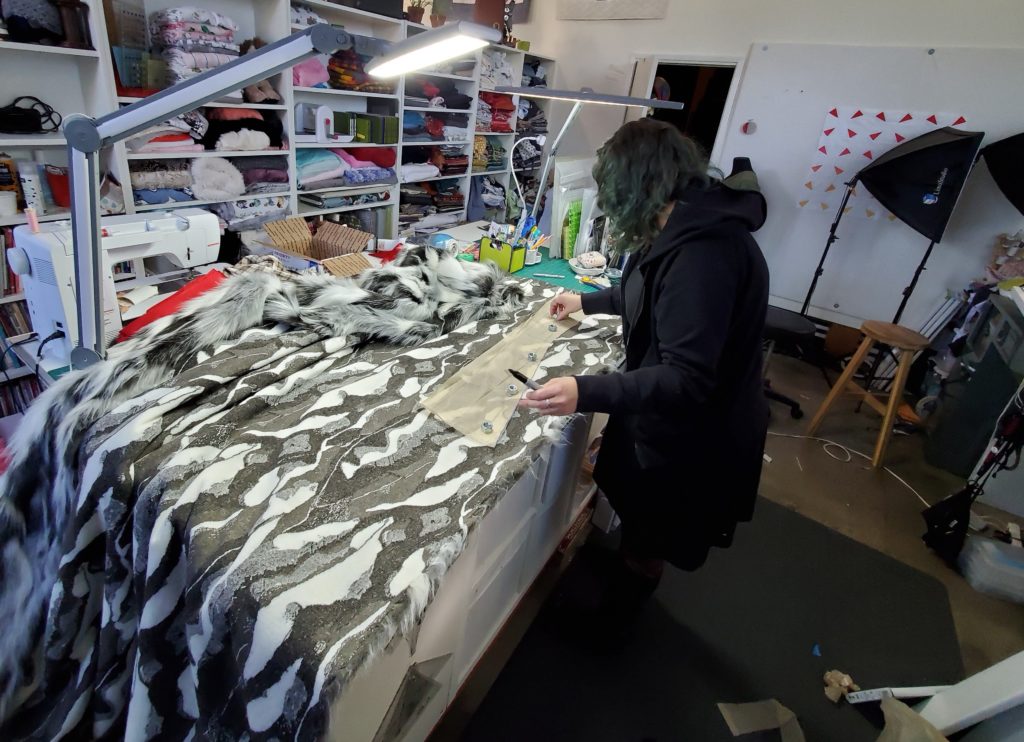
If you look closely you can see that I’m using big bolts as pattern weights. I prefer them over the washers that many people use. I find that they are just as heavy and so much easier to pick up.
I laid the pattern pieces out, one at a time, weighted them in place, then traced around each with a Sharpie marker. This had enough gray and white that the black marker worked just fine. If you are using a faux fur with a very dark backing, you can use a silver marker instead. I’ve tried using chalk markers and various other pens, but haven’t had much luck, so now I just stick with these felt tips.
Then I pull out the blade.
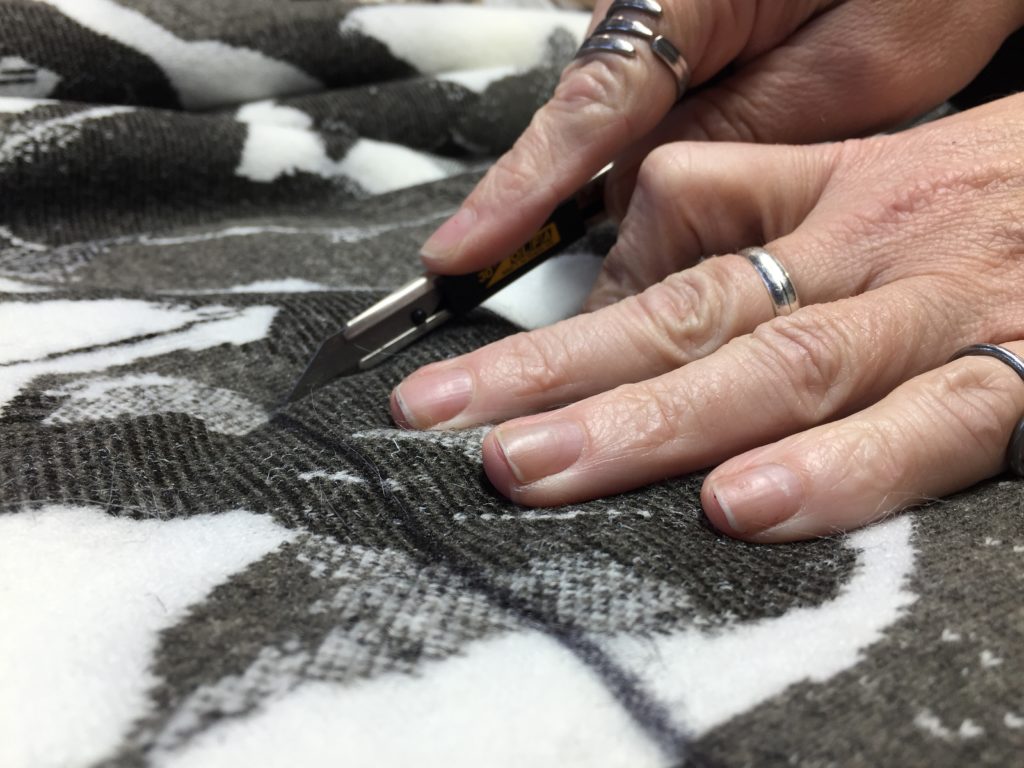
If you’ve seen any of my tutorials about cutting Luxe Cuddle, you’ve witnessed my massive love for this OLFA knife. It takes a little practice to get the right pressure on it (less is better) so that you are just cutting the backing fabric. You can use small scissors, instead, to cut the backing but do NOT use a rotary cutter when dealing with faux fur. You want to leave all the fibers at their full length for the best look. It takes a little bit longer, but the results are 1000x better, so take the time to cut carefully.
After cutting along each each of the pattern, I gently pull it apart and clip any spots I missed to remove it from the rest of the fabric. I vacuum those edges with my hand-held vacuum and put them aside until all the pieces were cut out.
After everything was cut out, I sewed the interlining on with a 3/8″ seam allowance. Then trimmed all the seam allowances before sewing. We’ll talk about that next time!
Happy sewing!

P.S. Affiliate links included, just FYI.
